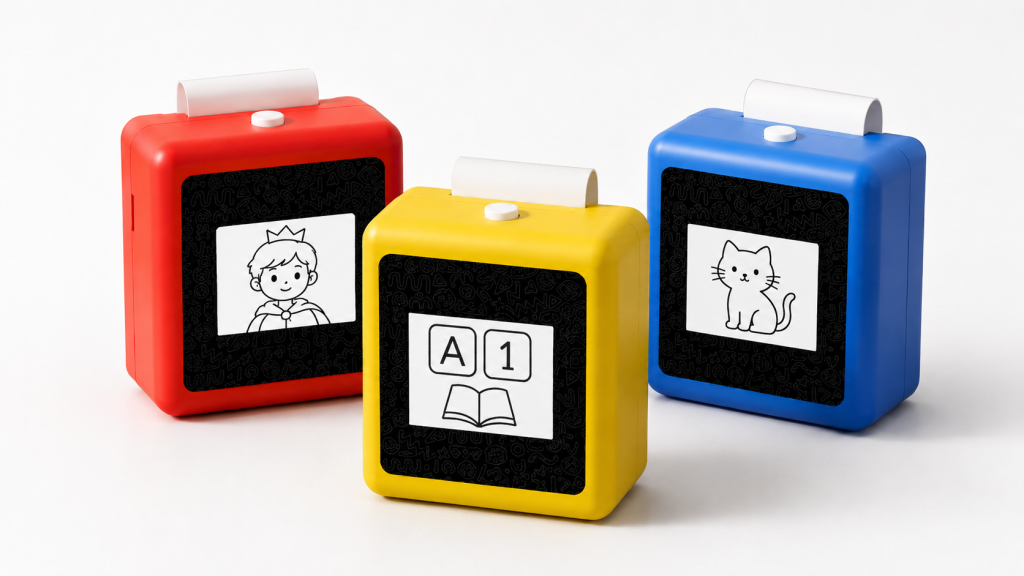
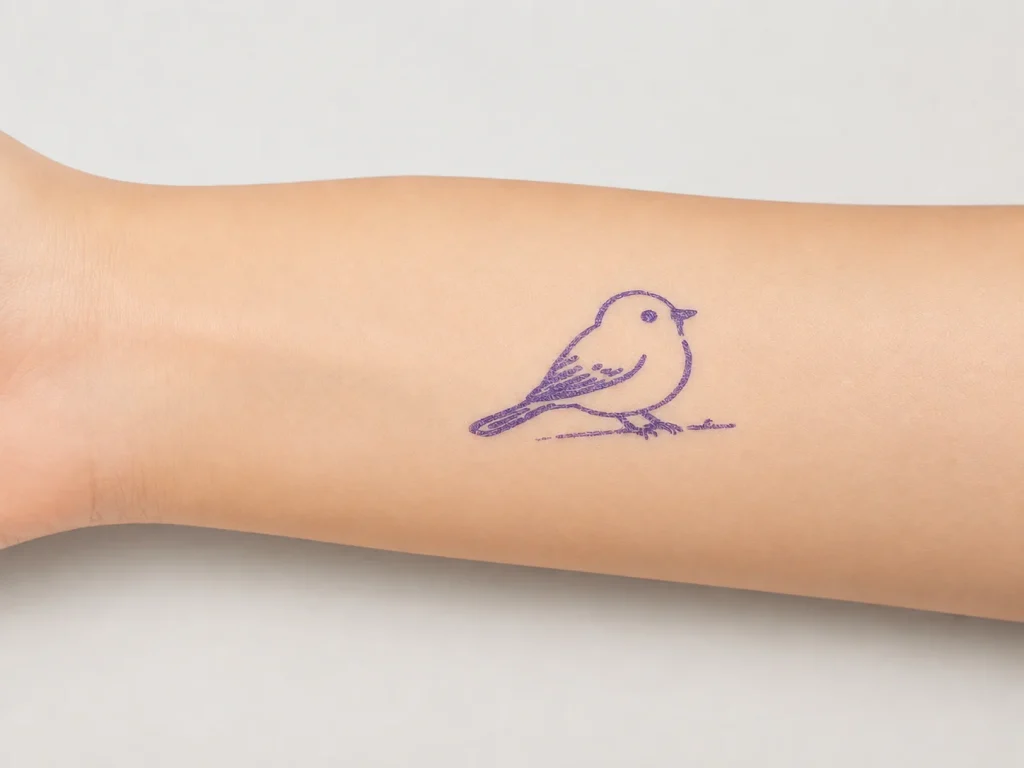
Your first tattoo stencil printer does not need to be the most expensive one — it needs to fit how you will actually prepare stencils, and that comes down to a few specifications rather than a long feature list. This guide walks a beginner through what to look for, what to have on hand before the first print, and a simple first workflow from a ready design to a clean stencil. The goal is to get from zero to a working stencil without overthinking the specs.
What Buyers Should Know
- Your first printer is a prep tool, not a tattoo machine; it makes stencils, and that is its whole job.
- Focus on print width, paper type, and how you get a design into the machine, not on a long spec sheet.
- The paper is a consumable you will reorder, so confirm the paper type and supply before you buy.
- A beginner does not need the highest DPI; clean, consistent line art matters more at the start.
- Run a test print before a real session, and keep a spare sheet on hand for setup.
What to look for in your first printer
A first printer comes down to a handful of practical questions.
| Specification | Why it matters | What a beginner should check |
|---|---|---|
| Print width | Determines the stencil size | 57mm suits many single-sheet designs |
| Design input | How a design gets in | Upload an image, or generate line art |
| Paper type | What the printer needs | Confirm the transfer paper it uses |
| Battery | Whether it is portable | Useful for guest spots and conventions |
| Consumables | What you reorder | Paper rolls or sheets and their cost |
Many portable tattoo stencil printers use 57mm-format paper, which suits single-sheet stencils and smaller designs. Larger pieces are printed in sections and aligned on the skin, so a beginner should start with standard-size stencils rather than chasing a wider print. The same thermal printing mechanism drives all of these devices — heat activates a dye layer inside the paper, with no ink or toner involved.
The design-input question is worth deciding early, because it changes how the printer fits your day. Upload-style printers need a finished image first, which suits a beginner who has designs ready or traces references; AI-assisted printers generate line art from a prompt, which suits a beginner who wants to start from a written idea. Choose the one that matches how you actually get designs, not the one with the longer feature list.
The printer price is only part of the total setup cost. Transfer paper, a spare roll or pack, and a transfer solution all add up, so budget for the consumables alongside the device rather than comparing printer prices alone. A cheaper printer with expensive or hard-to-source paper can cost more over time than a slightly pricier printer with affordable, easy-to-find paper.
What you need to get started
Beyond the printer itself, a first print needs a small set of supplies.
- The transfer paper matched to your printer — thermal paper for a thermal printer, or hectograph paper for hand-tracing.
- A design source: a finished image or scan to upload, or a prompt if the printer generates AI line art.
- A clean, flat surface to load and print.
- A spare sheet for a test print before the real run.
- A stencil transfer solution if you are moving the stencil to skin right away.
- A reference image or prompt notes so the design is ready before you load the paper.
Your first print: a simple workflow
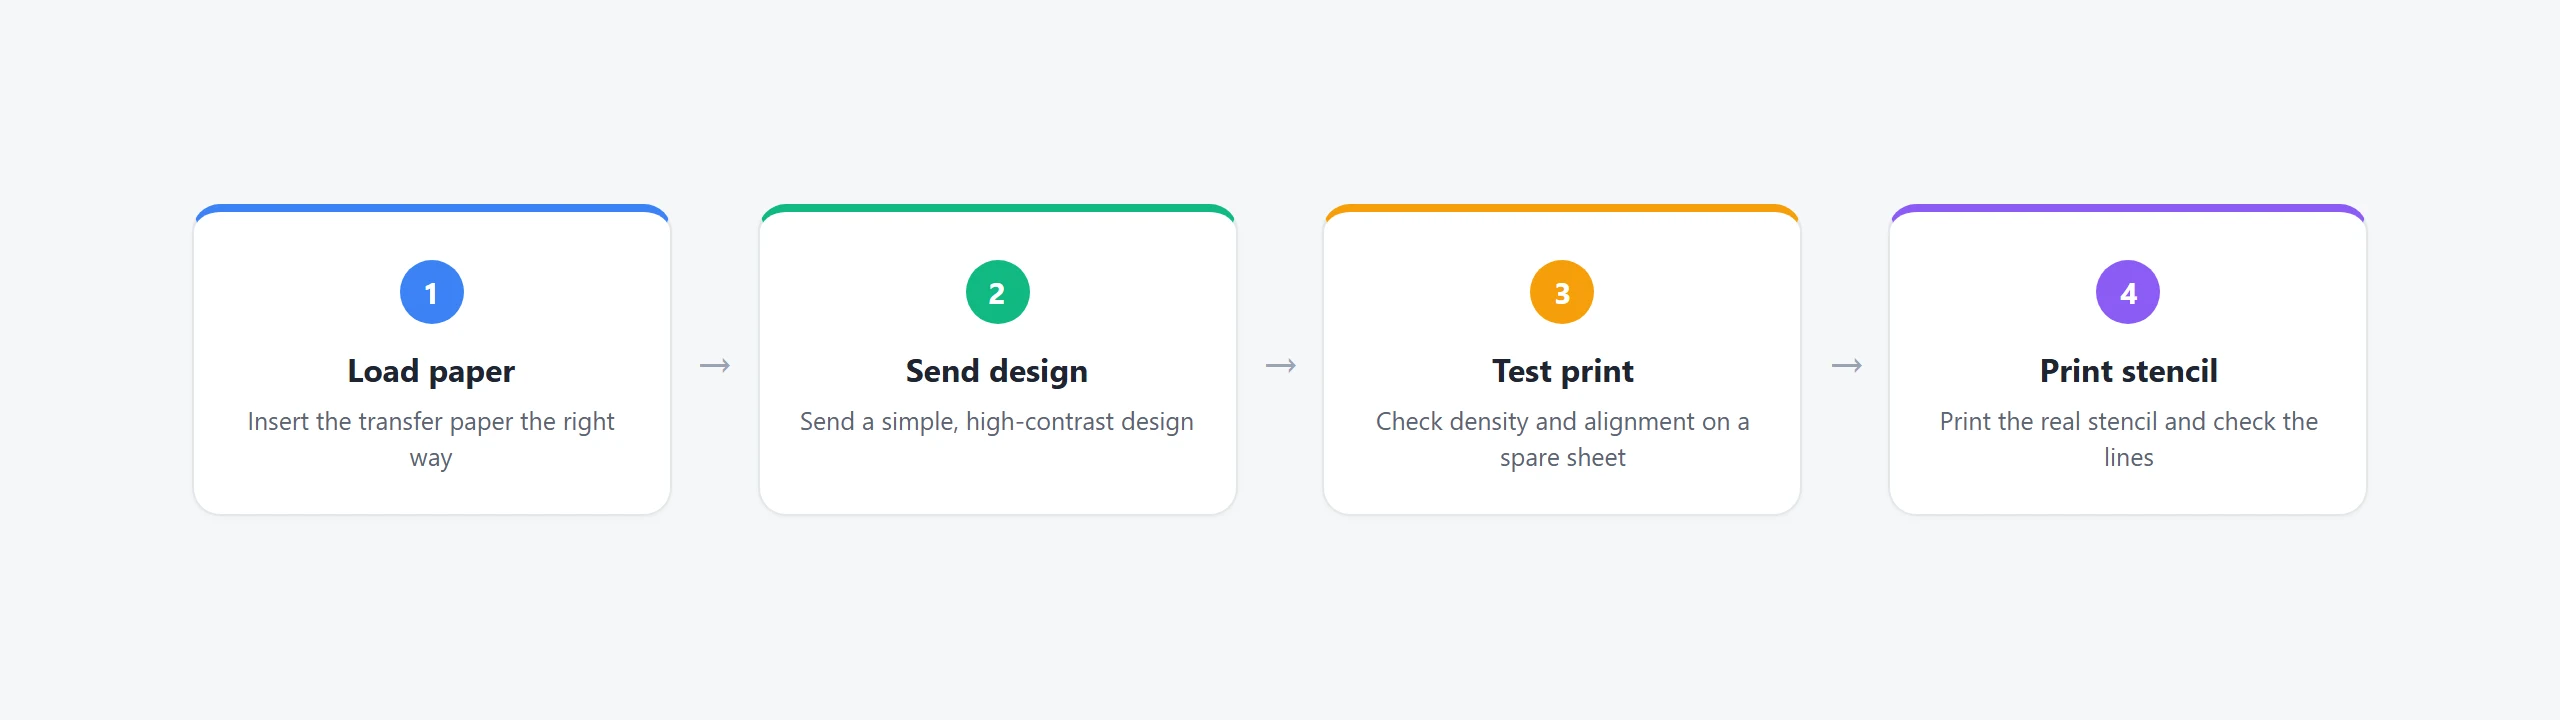
The first print should be as simple as possible, so start from a design you already have rather than a complicated one.
- Load the transfer paper the way the printer is designed for.
- Send a simple, high-contrast design to the printer.
- Run a test print on a spare sheet to check density and alignment.
- Print the real stencil and check the lines before you apply it.
Starting simple is deliberate: a bold, single-color outline shows the printer’s behavior clearly, while a complicated design with fine detail gives a beginner more ways to misread the result. Once a simple print comes out clean and consistent, move up to the designs you actually want to use.
If the print comes out faint or patchy, the usual causes are the paper loaded the wrong way or the wrong settings. Reprint rather than trying to use a bad stencil. Skin preparation follows the same basic hygiene covered in resources such as MedlinePlus on tattoos and piercings — clean, dry skin and a thin transfer solution — but that is a separate step from the printing itself. Once the stencil prints clean, check it at the size it will be used: lines that look fine on screen can close up at stencil size, so a quick look at the printed result rather than the preview is the habit that separates a usable stencil from a reprint.
Common beginner mistakes
Most first-print problems come from a few avoidable mistakes.
- Loading the paper the wrong way, which produces a faint or reversed stencil.
- Buying paper that does not match the printer, then blaming the printer.
- Skipping the test print and wasting a sheet on the real run.
- Chasing the highest DPI instead of clean, bold line art.
- Treating the stencil as permanent when it is a working guide for the session.
Each of these is cheaper to fix at the start than mid-session, so the first workflow should include a test print every time until it becomes routine. None of these are signs the printer is wrong; they are almost always setup issues, which is why a first workflow that includes a test print and a check of the paper direction removes most of them before they reach a client. Treat the first few prints as practice, and the routine becomes automatic.
Where This Product Fits
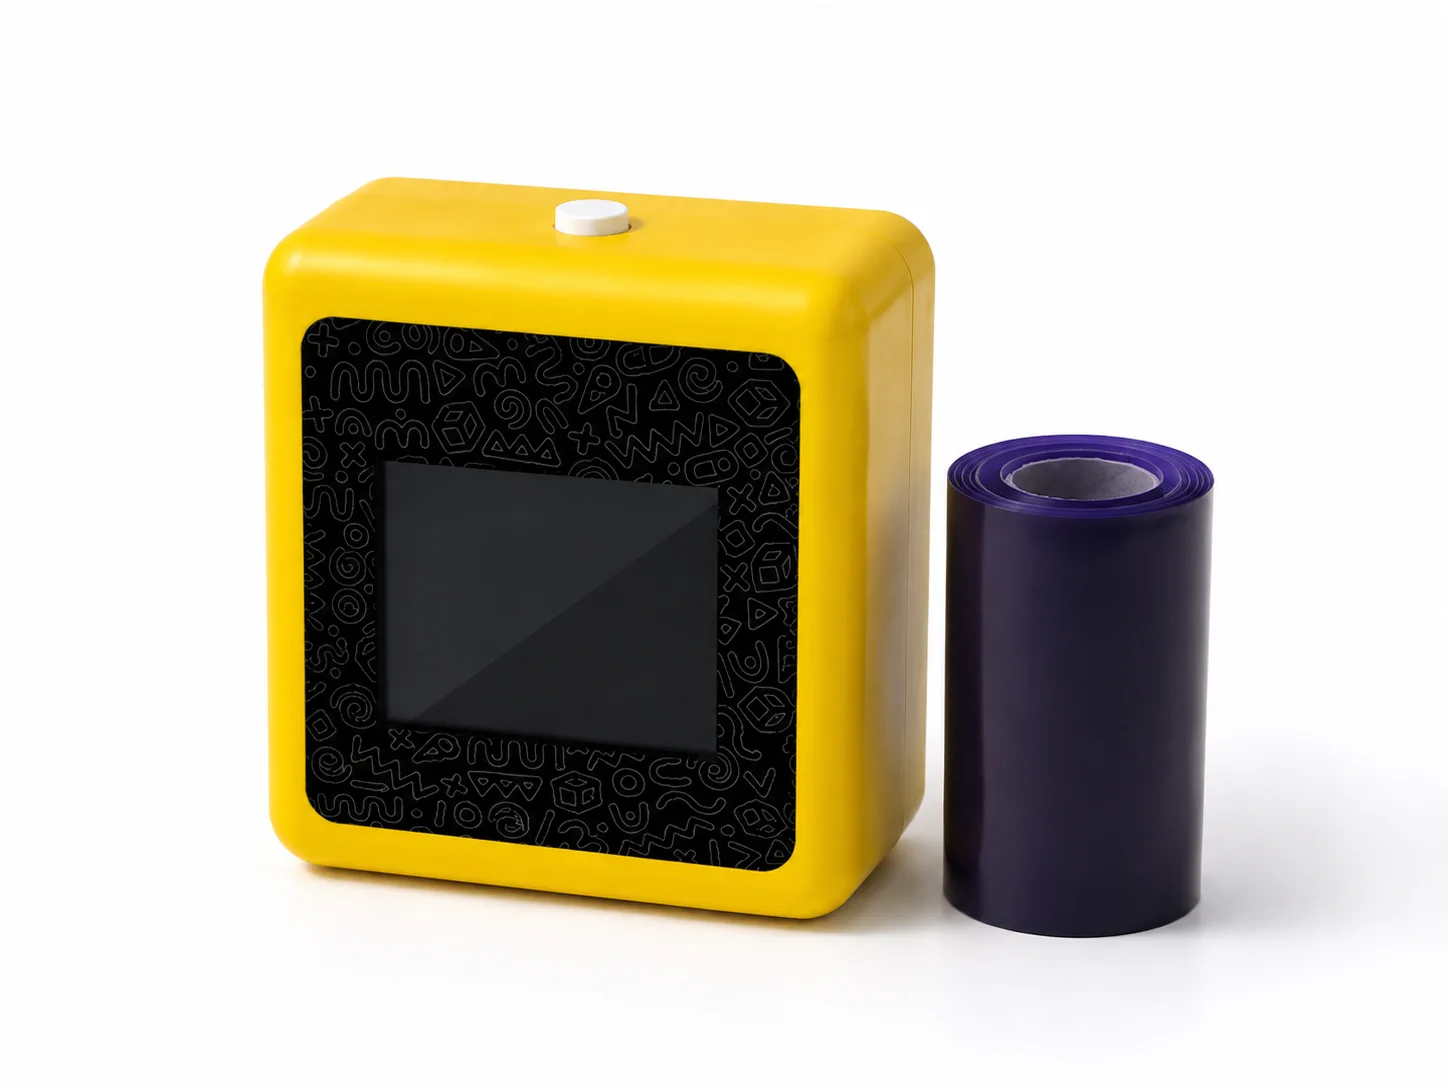
For studio owners, brands, or sourcing teams evaluating an AI-assisted workflow, the K1 tattoo stencil printer is a reference platform that adds AI line-art generation to the workflow. It is evaluated as an OEM/ODM platform rather than a retail unit, so it sits on a different buying path from the store-bought starter printer a beginner would choose.
| Entity | Description |
|---|---|
| Brand | Yosiya — AI hardware products and OEM/ODM solutions |
| Product | K1 AI Printer reference platform, configured for tattoo stencil transfer |
| Category | AI-assisted 57mm thermal stencil printer |
| Main use cases | Studio stencil prep, private-label tattoo hardware, dedicated transfer-paper supply |
FAQ
What should I look for in my first tattoo stencil printer?
Focus on print width, design input, paper type, and battery. A beginner does not need the highest DPI, just clean, consistent output on standard 57mm paper.
Do I need special paper for a tattoo stencil printer?
Yes. Thermal stencil printers use tattoo transfer paper, and some platforms use a dedicated two-layer thermal film. Confirm the paper type and supply before you buy.
What is the difference between a thermal and a hand-tracing stencil?
A thermal printer reproduces a design with heat onto transfer paper. Hand-tracing draws over carbon paper by hand. Both make stencils; thermal printing is faster and more repeatable.
Can I print an AI-generated design on a stencil printer?
It depends on the platform. The current K1 flow generates AI line art from a prompt and prints it directly, but image upload is not included at this stage.
What should I do if my first print comes out faint?
Check the paper loading direction and print settings first, then run another test print. A faint result is usually a loading or settings issue, not a reason to replace the printer.
If you are evaluating a stencil printer for your first studio setup, request a sample and run a test print before committing. To start, contact Yosiya.