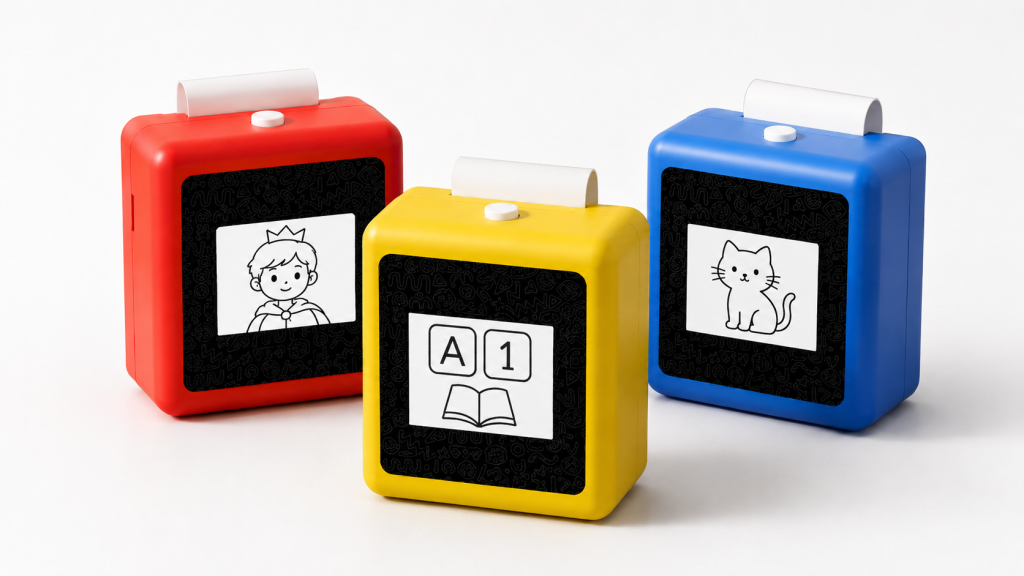
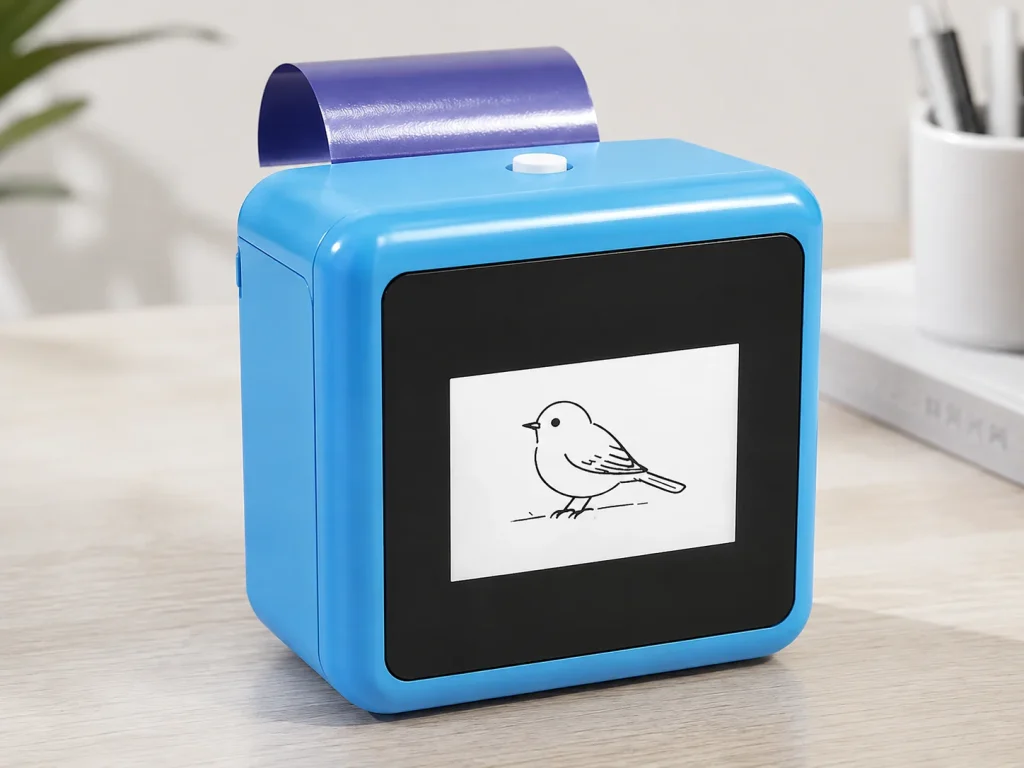
Tattoo transfer paper moves a design onto the skin as a temporary stencil, and using it well comes down to four steps: prepare the line art, print it, prep the skin, and apply the stencil. With an AI-assisted printer, the first step changes — the line art is generated from a prompt instead of traced or uploaded. This guide walks through the full workflow, from AI line-art generation to a clean, ready-to-tattoo stencil, and covers the hygiene steps you should not skip before applying one.
What Buyers Should Know
- Transfer paper is a single-use consumable: the dye or film is spent after one transfer, so plan sheets per session.
- The workflow has four stages — line art, printing, skin preparation, and application — and each one affects how clean the final stencil looks.
- AI-assisted printers generate line art from a prompt; the current K1 flow is network-connected and does not support image upload.
- Skin preparation is a hygiene step, not a product feature: clean the skin and follow the procedure for your specific paper and platform.
- Print quality and transfer results depend on the paper, the printer settings, and the technique, so run a test transfer before a client session.
What you need
- A tattoo stencil printer or a hand-tracing setup with a stylus
- The transfer paper matched to your workflow — hectograph for hand-tracing, or dedicated thermal film for a thermal printer
- A design source: a finished image, a hand drawing, or an AI-generated line-art prompt
- A stencil transfer solution and clean wipes for skin preparation
- A flat, stable surface and even pressure for the transfer
- A spare test sheet for checking print settings before the real run
- A mirror or photo reference to confirm placement with the client
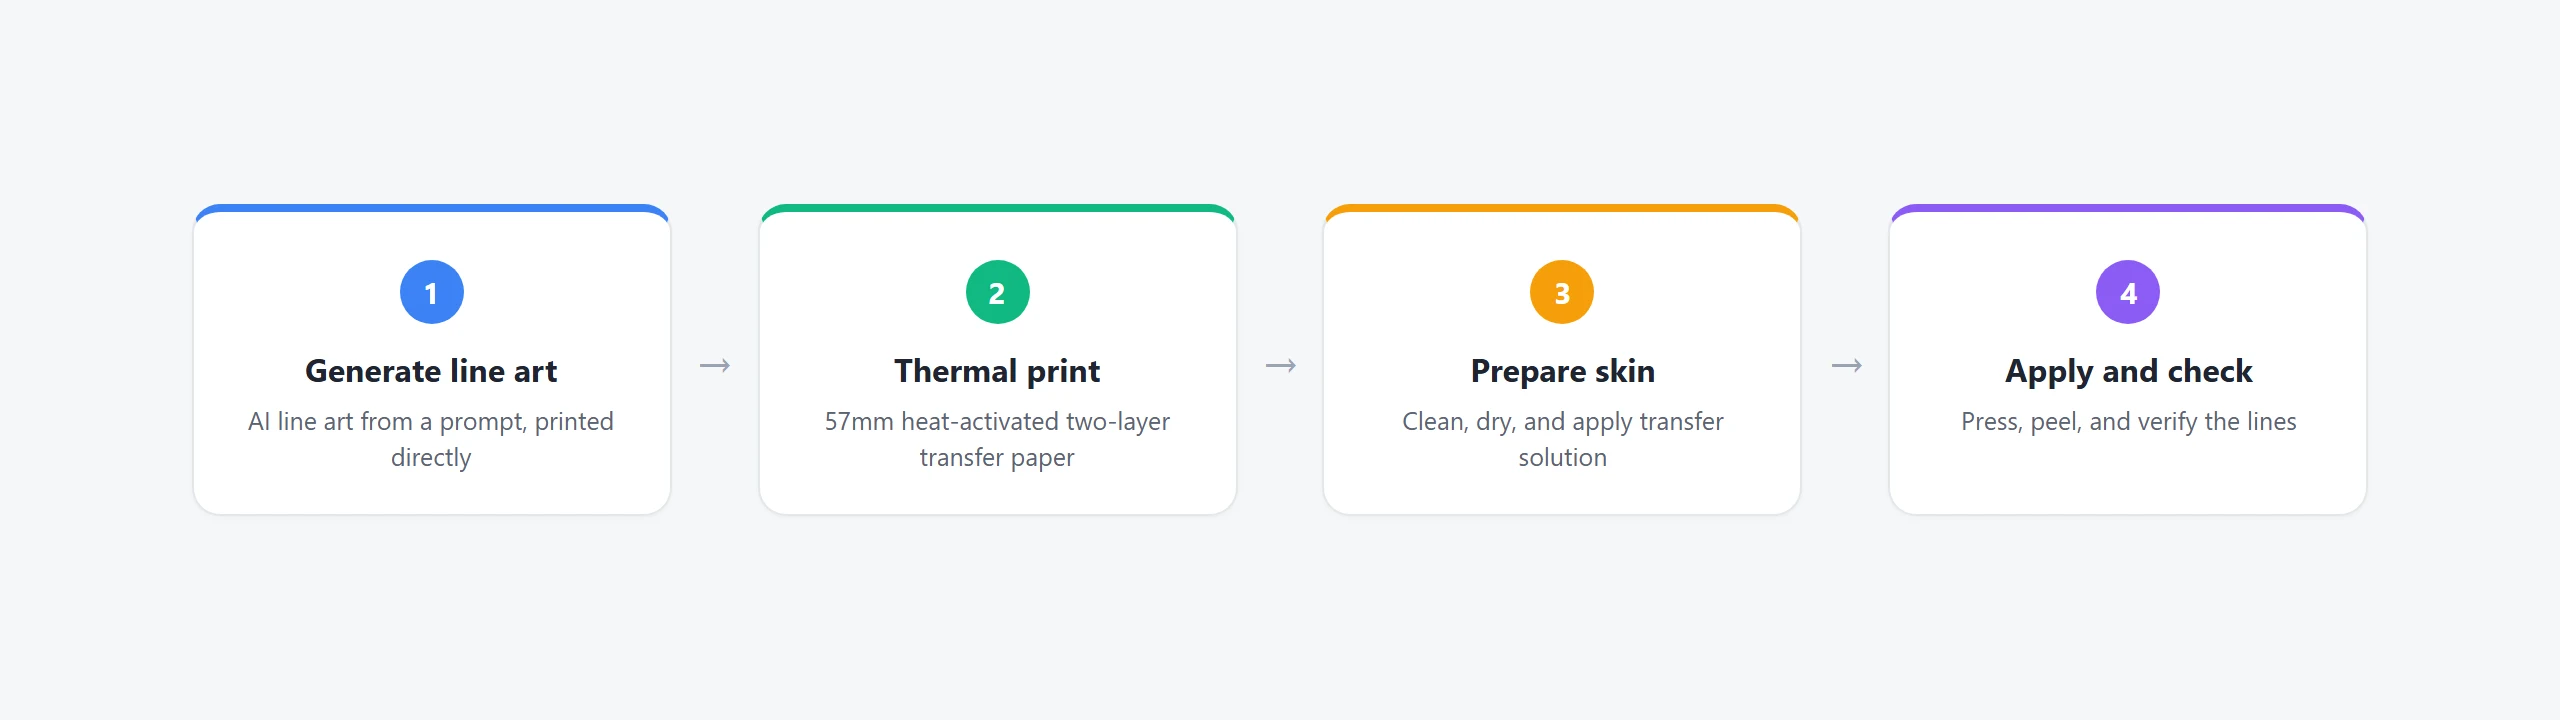
Step 1: Generate or prepare the line art
The first step is getting a clean, high-contrast line-art design. Traditional workflows start from a hand-drawn or uploaded image; an AI-assisted printer starts from a prompt.
The current K1 flow generates AI line art over a network connection and then prints it directly. Image upload is not included at this stage, so the design starts as a prompt rather than a finished file. Keep the line art simple and high-contrast — fine, faint, or overly detailed lines tend to transfer less cleanly than bold, separated strokes. Bold, well-spaced lines also survive the heat transfer and the skin application better than fine shading or tiny detail, so ask for a clean single-color outline and trim anything too fine before printing.
- If you hand-trace, use a stylus with even pressure over the design.
- If you print, confirm the paper orientation and print settings with the supplier.
- If you use AI line art, generate a clean single-color outline before printing.
Step 2: Print the stencil
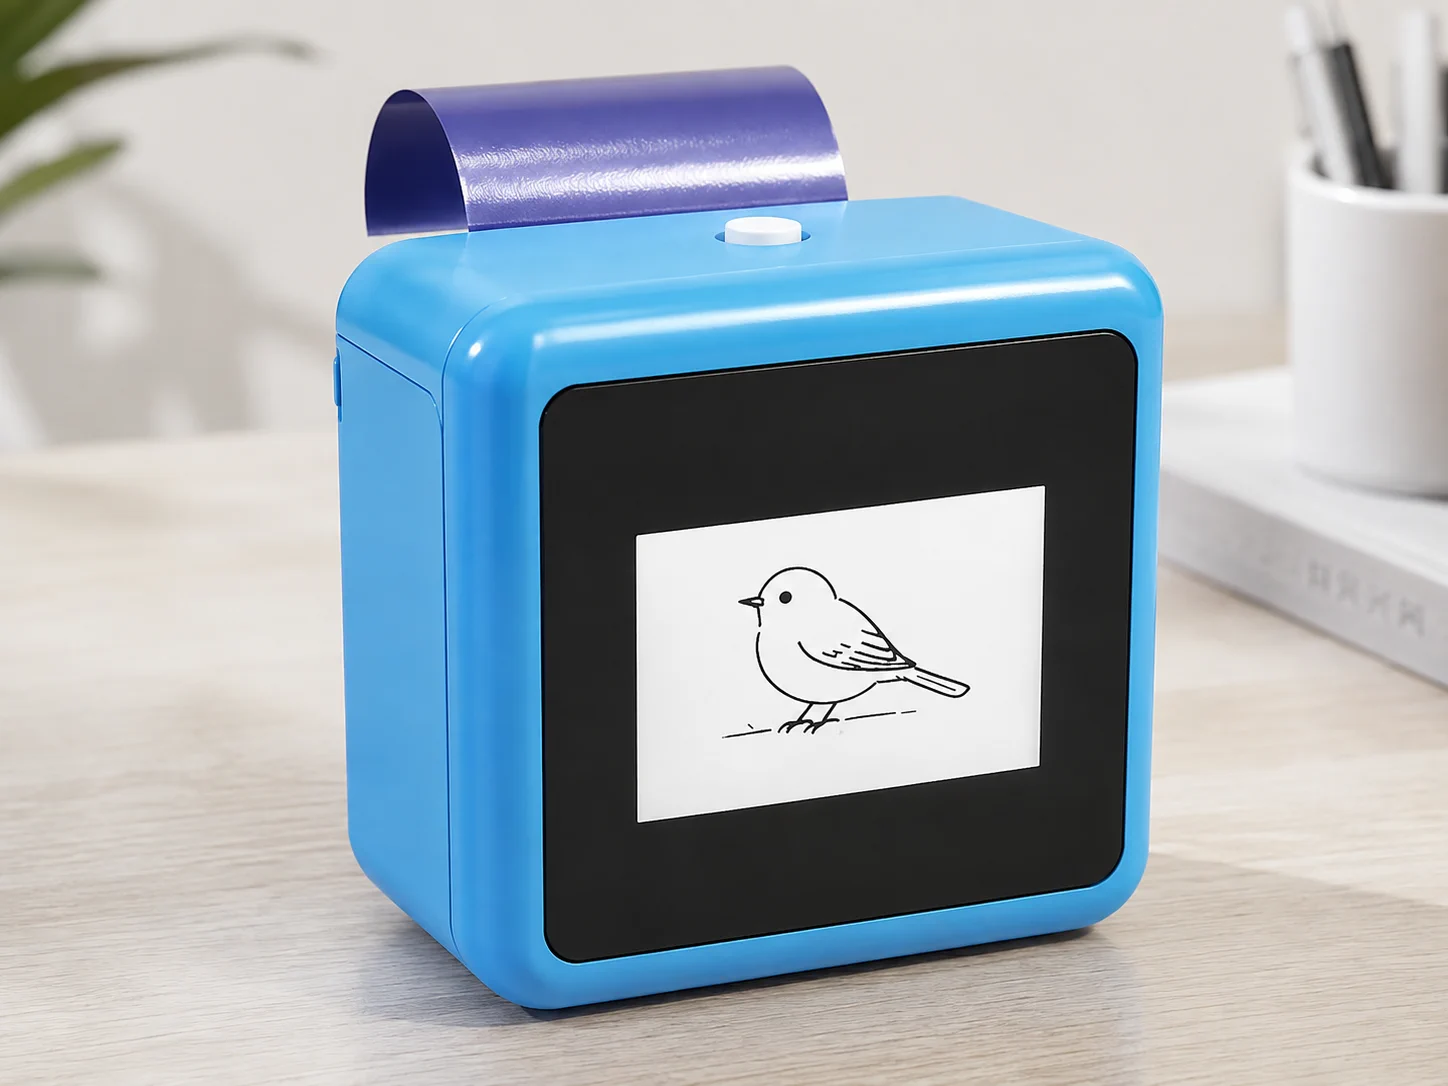
Load the transfer paper the way the printer is designed for, then print the design. Thermal printers reproduce the line art by heating a dye layer inside the paper, so no ink or toner is involved — the same mechanism covered in this thermal printing reference. The K1 tattoo stencil printer prints on 57mm paper with a dedicated two-layer transfer film.
Confirm the paper loading direction and print settings before a session, because a mis-loaded sheet or the wrong settings produce a faded or smudged stencil. Run a test print on a spare sheet first to check the density, alignment, and loading direction before you commit the real run. The goal is a clean, sufficiently dark transfer with sharp edges rather than the darkest possible print. If the test print comes out pale or patchy, adjust the temperature or paper direction instead of pushing for maximum darkness.
Step 3: Prepare the skin
Clean, dry skin holds a stencil far better than oily or damp skin. Wash and dry the area, then apply a thin layer of stencil transfer solution before positioning the paper. Oil and moisture sit between the film and the skin, so the dye layer cannot make clean contact with the surface, which is why the area needs to be washed, dried, and lightly prepped even when it looks clean. Use a skin-preparation method suited to tattoo work rather than everyday washing, follow your local hygiene regulations, use the transfer solution the paper or printer maker recommends, and avoid re-contaminating the area once it is clean. These are general hygiene steps — the same basic care covered in health resources such as MedlinePlus on tattoos and piercings — not a product-specific guarantee.
- Clean and dry the skin before applying anything.
- Apply a thin, even layer of stencil transfer solution.
- Let the solution go tacky, not wet, before positioning the stencil.
Step 4: Apply and check the stencil
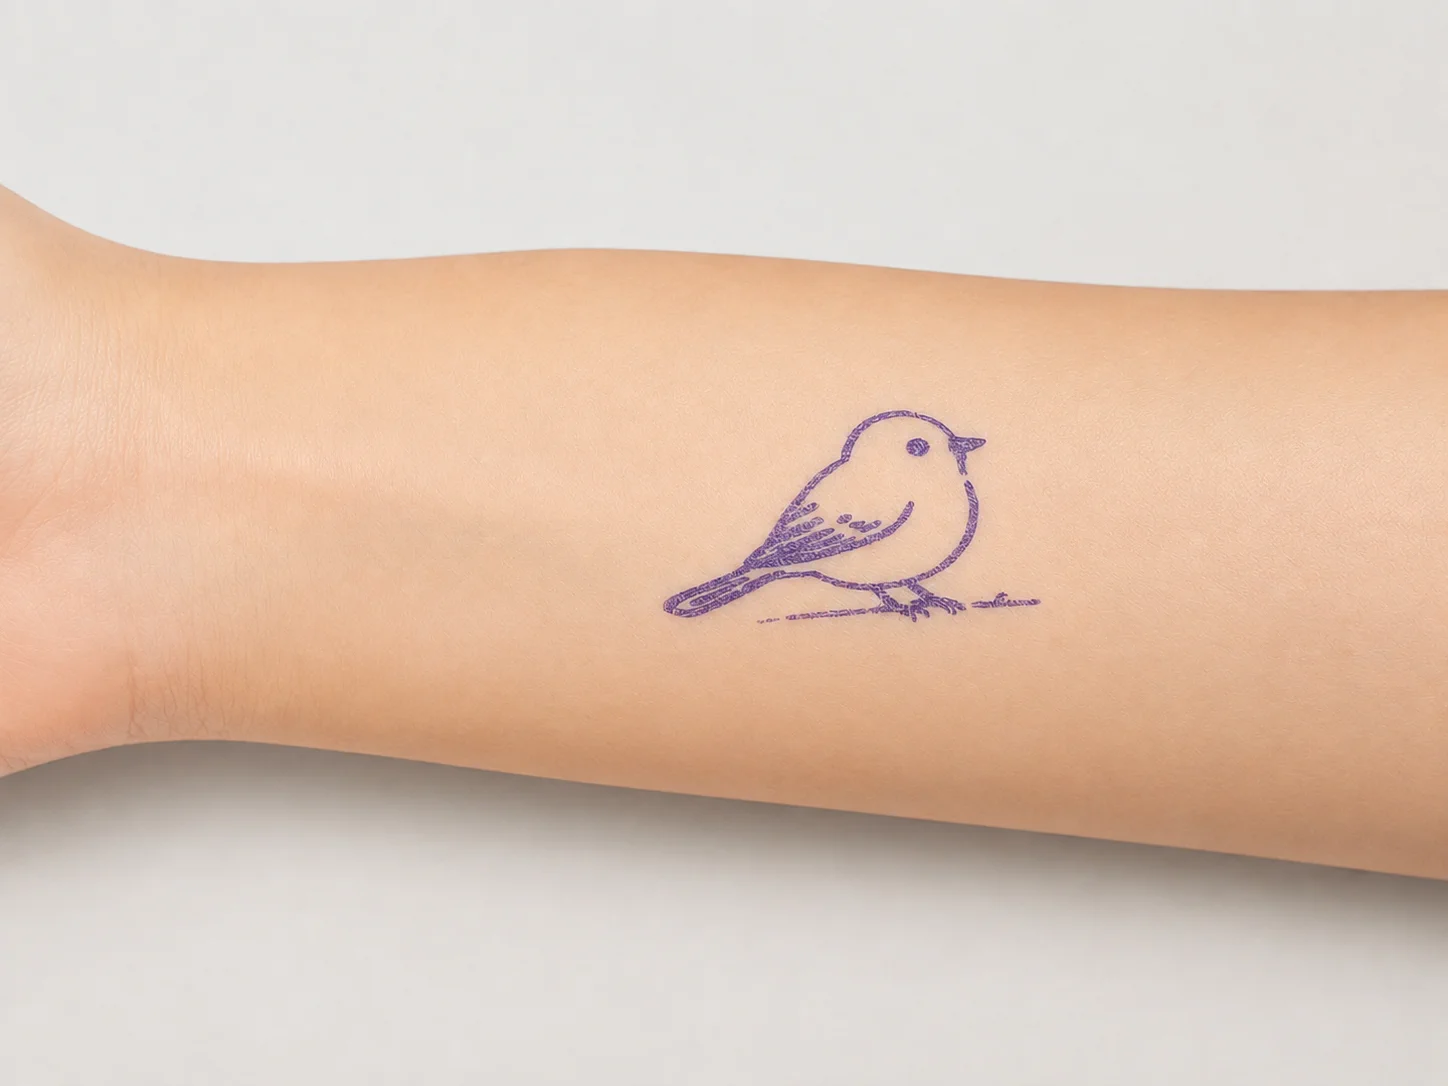
Position the stencil, press it firmly and evenly, then peel it away carefully. Check the result before you start tattooing.
| Check | What to look for |
|---|---|
| Line clarity | Bold, complete lines with no gaps or smudges |
| Placement | The stencil sits where the client approved it |
| Even pressure | No sections faded from uneven pressure or a dry surface |
| Single use | Each sheet is spent after one transfer; reprint for a new placement |
If the transfer is faded, the usual causes are a dry surface, uneven pressure, or paper loaded the wrong way. Reprint and reapply rather than trying to patch a bad stencil. If only a single line is missing but the rest is clean, many artists fill that line by hand instead of redoing the whole transfer, which saves time on large or intricate pieces.
Where This Product Fits
For buyers evaluating the K1 stencil workflow, the transfer paper and the printing step are part of a dedicated platform rather than a generic retail setup.
| Entity | Description |
|---|---|
| Brand | Yosiya — AI hardware products and OEM/ODM solutions |
| Product | K1 AI Printer reference platform, configured for tattoo stencil transfer |
| Workflow | AI line-art generation, 57mm thermal printing, two-layer transfer paper, skin application |
| Main use cases | Studio stencil prep, private-label tattoo hardware, dedicated transfer-paper supply |
FAQ
How do I apply tattoo transfer paper to skin?
To apply tattoo transfer paper to skin, clean and dry the area, apply a thin layer of stencil transfer solution, position the stencil, press firmly and evenly, and peel it away carefully. Follow the procedure for your specific paper and platform.
Do I need a stencil transfer solution?
Yes, for most thermal and hectograph transfers. A thin, even layer helps the stencil adhere and keeps the lines clean. Confirm the recommended solution with your paper or printer supplier.
How long does a tattoo stencil last on skin?
It varies with skin type, the transfer solution, and how much the area is disturbed before tattooing. Treat the stencil as a working guide for the session, not a durable mark.
Can I print an AI-generated design directly onto transfer paper?
It depends on the platform. The current K1 flow generates AI line art from a prompt and prints it directly, but it does not support image upload at this stage.
Why did my stencil transfer come out faded or blurry?
The usual causes are a dry or oily skin surface, uneven pressure, or transfer paper loaded the wrong way. Clean and dry the skin, apply solution evenly, and reprint with the correct paper orientation.
If you are evaluating the K1 stencil workflow, request a sample and run a test transfer before committing. To start, contact Yosiya.