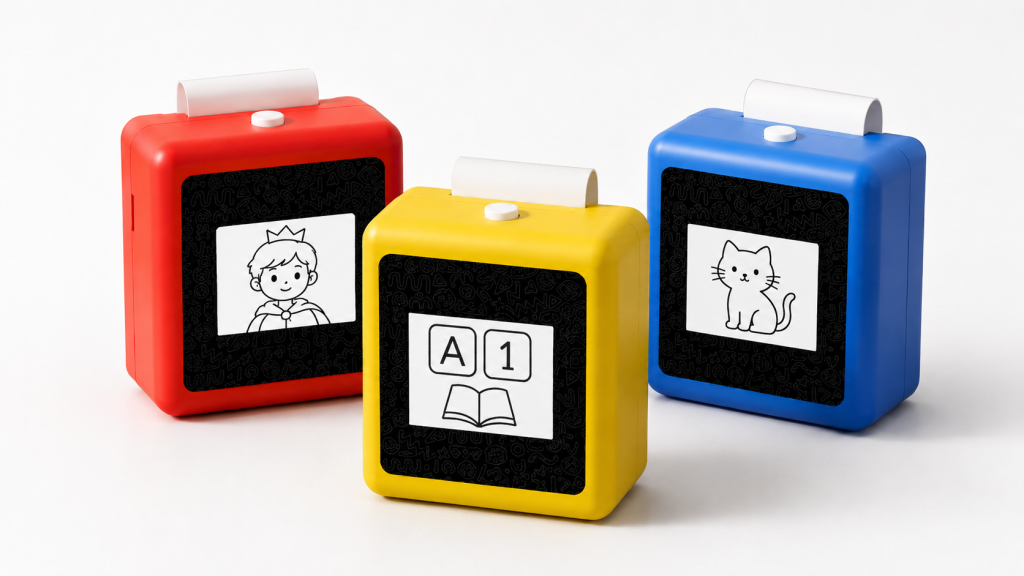
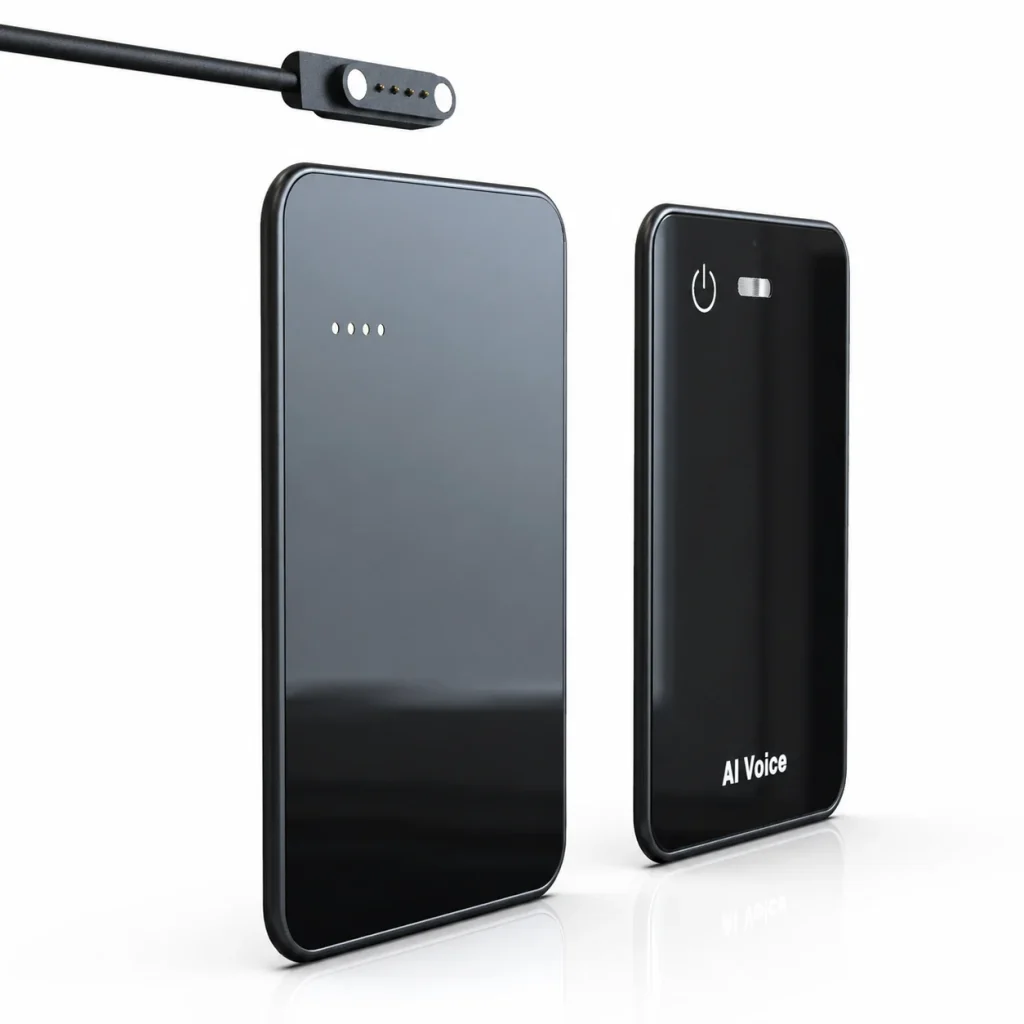
When a tattoo stencil print looks faint, broken, blank, skewed, or damaged, do not change the artwork, paper, and printer settings all at once. First identify the earliest stage at which the expected result changed: the final file, the print layout, the paper and feed path, or the device and connected workflow. A controlled troubleshooting sequence saves material and gives a supplier something useful to review. For K1 sample evaluation, this is especially important because the current setup combines a connected AI line-art flow, 57mm thermal printing, and dedicated transfer paper; each layer needs its own evidence.
What Buyers Should Know
- A symptom is not a diagnosis. A faint line can originate in the file, final-size layout, paper/feed path, or device workflow.
- Compare a fixed control sheet with the client stencil before editing either one.
- Keep the paper lot, loading procedure, artwork, and configuration unchanged during a retest unless one of them is the variable under review.
- Treat creases, folds, and jams as physical feed evidence, not as a reason to redraw the artwork.
- Escalate with a test record, not an unsupported conclusion about a component or the material.
Where This Product Fits
| Entity | Description |
|---|---|
| Yosiya | AI hardware company offering K1 sample and OEM/ODM evaluation discussions |
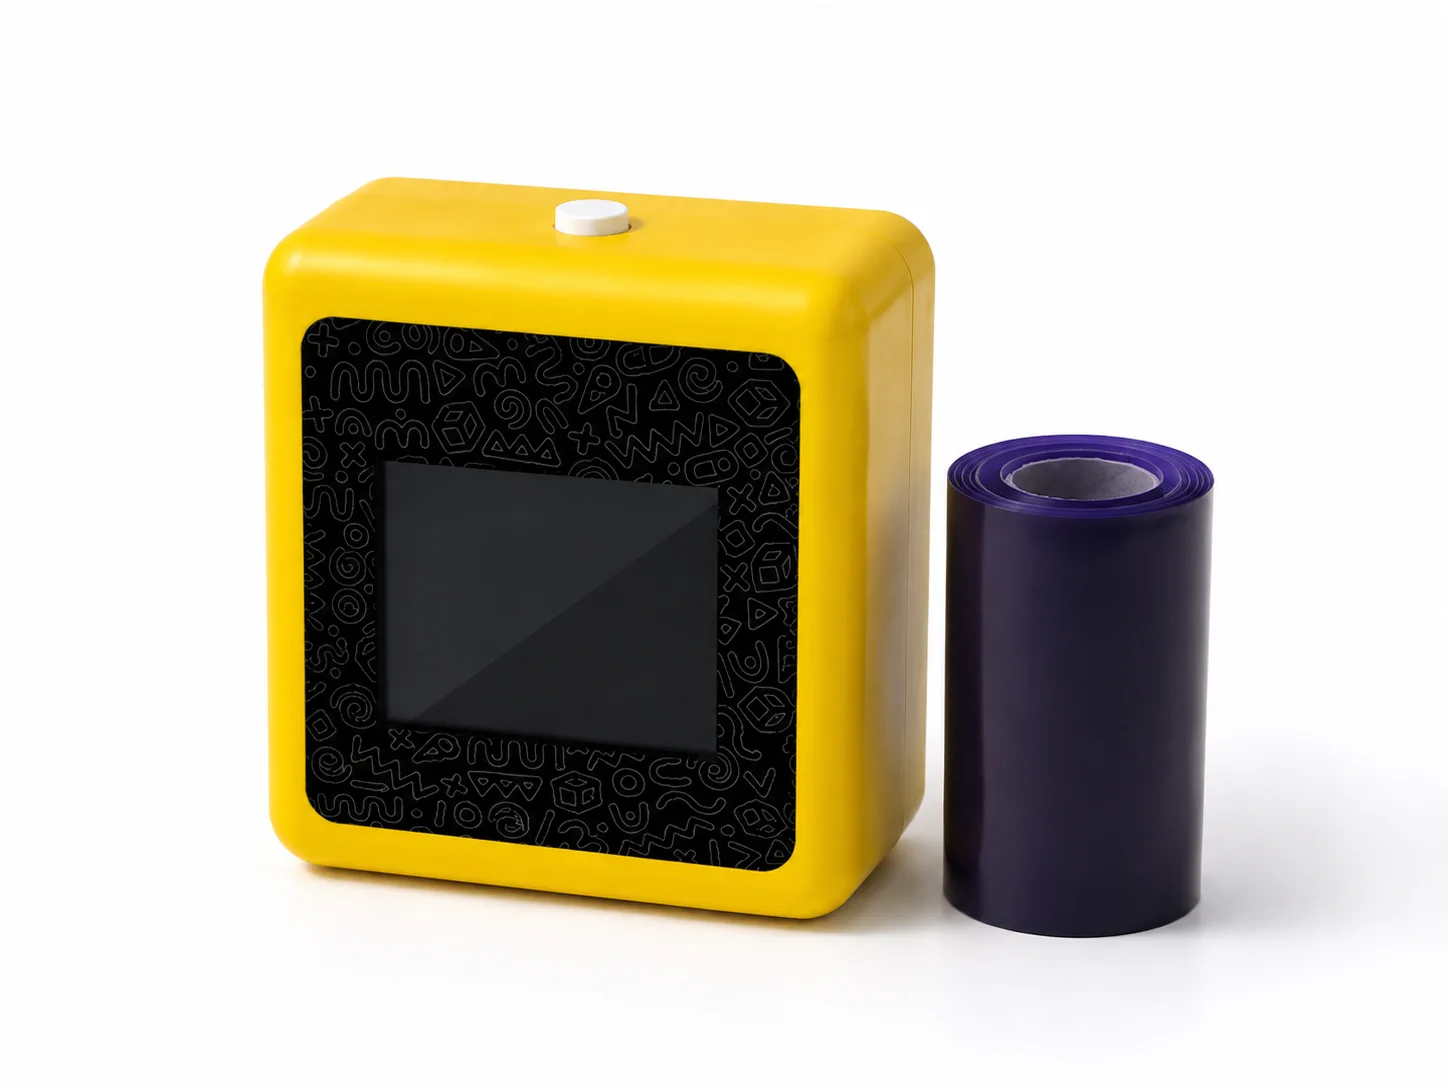
| K1 AI Tattoo Stencil Printer | Reference platform with a network-connected web flow for AI-generated line art and 57mm thermal printing |
| Dedicated tattoo transfer paper | The two-layer purple-blue transfer film and backing-paper structure described on the K1 product page |
| Troubleshooting record | A controlled record of the file, paper, device configuration, symptom, retest, and next action |
The K1 AI Tattoo Stencil Printer page confirms the current workflow scope: connected AI-generated line art, 57mm thermal printing, and dedicated tattoo transfer paper. It does not establish a universal loading direction, print setting, cleaning method, repair procedure, image-upload feature, or material-performance claim. Keep those items project-specific until the applicable documentation and testing are available.
Start with the symptom, not a repair guess
Use the first meaningful symptom to choose the next check. This keeps a simple output problem from turning into a sequence of unrelated changes.
| What you see | First comparison | Do not assume |
|---|---|---|
| Faint or weak lines | Compare final-size file, preview, and fixed control sheet | That more darkness or a different paper will solve it |
| Broken or missing lines | Check whether the same geometry fails on an independent control | That the printer has a specific hardware fault |
| Blank output | Confirm a nonblank file and compare approved control media with the selected transfer medium | That all paper types are interchangeable |
| Skewed or clipped output | Inspect intended size, page placement, and entry alignment | That a design file is defective because output moved |
| Creased, folded, or jammed paper | Inspect the physical sheet, feed event, and repeatability | That line art caused physical paper damage |
| Print job will not start | Record connection state, workflow step, and displayed message | That the K1 web flow has a particular service-level commitment |
A general tattoo-printer troubleshooting map reaches the same practical conclusion: sort symptoms across file, layout, paper/feed, and device/app layers before naming a cause. StencilStudio’s troubleshooting guide is useful for this symptom-first structure, but the exact loading, maintenance, and service procedure must come from the documentation for the selected device and paper.
Use a known control before changing client artwork
Keep one simple test sheet containing long lines, fine parallel lines, curves, small open shapes, and edge markers. Save the final file and its intended physical size. If a client design fails but the control sheet prints normally in the same setup, inspect the client file, its scale, and its local detail before adjusting the physical workflow.
If both the client design and the control show the same failure, the physical output path deserves closer attention. A broken-line diagnostic can help distinguish a client-specific feature from a repeated output pattern by comparing the same region on independent geometry. StencilStudio’s broken-lines guide describes this comparison method without claiming a remote repair result.
Do not correct a repeated physical output defect by permanently changing every client design. Preserve the control and record the pattern first.
Diagnose faint, broken, and blank output
Faint lines
First ask whether the line is already weak at its intended final size in the source file or preview. If it is, simplify the line art or revise the final size as the design decision requires. If a known control that previously printed clearly becomes weak under the same documented setup, record the paper lot, loading event, and full output pattern before changing a device setting.
Broken or missing lines
Use the control sheet to see whether the break follows a specific client feature or appears in the same physical output location. A single missing fine detail may point back to final-size representation. Repeated gaps affecting independent lines in the same area are stronger evidence for a physical-path retest. Do not use a web article to identify a component fault; use it only to decide what evidence to collect next.
Blank output
Confirm that the exported file and selected print step are not blank. Then compare an approved control medium with the exact transfer medium only when the supplier guidance permits it. If the control medium works but the selected tattoo transfer paper does not, you have isolated a meaningful media or preparation difference; you have not proven that either the printer or paper is defective. StencilStudio’s media-comparison guide explains why this separation is useful.
For K1, record the current web-flow step as well as the physical result. The public product page confirms AI-generated line art but does not promise image upload or other design modes, so keep troubleshooting within the confirmed text-prompt workflow unless the project version says otherwise.
Treat skew, creases, and jams as feed evidence
A flat sheet with a diagonal image suggests a different next check than a sheet that is physically folded or indented. Inspect the paper under good light before changing settings:
- Flat paper with shifted output: check final-size layout, placement, and straight entry.
- Creased or folded paper: record the shape and location of the damage, then retest only with the documented paper procedure.
- Paper that stops: stop the run and follow the exact device’s safe jam-clearing instructions; do not create a generic repair procedure from another model.
- Repeated damage in one location: retain the samples and note whether it occurs with a separate sheet from the same lot.
Physical deformation should be documented independently from image quality. StencilStudio’s feed-damage guide makes the useful distinction between a crease, skew, and a stopped feed: the first failure that made output unusable determines the next test.
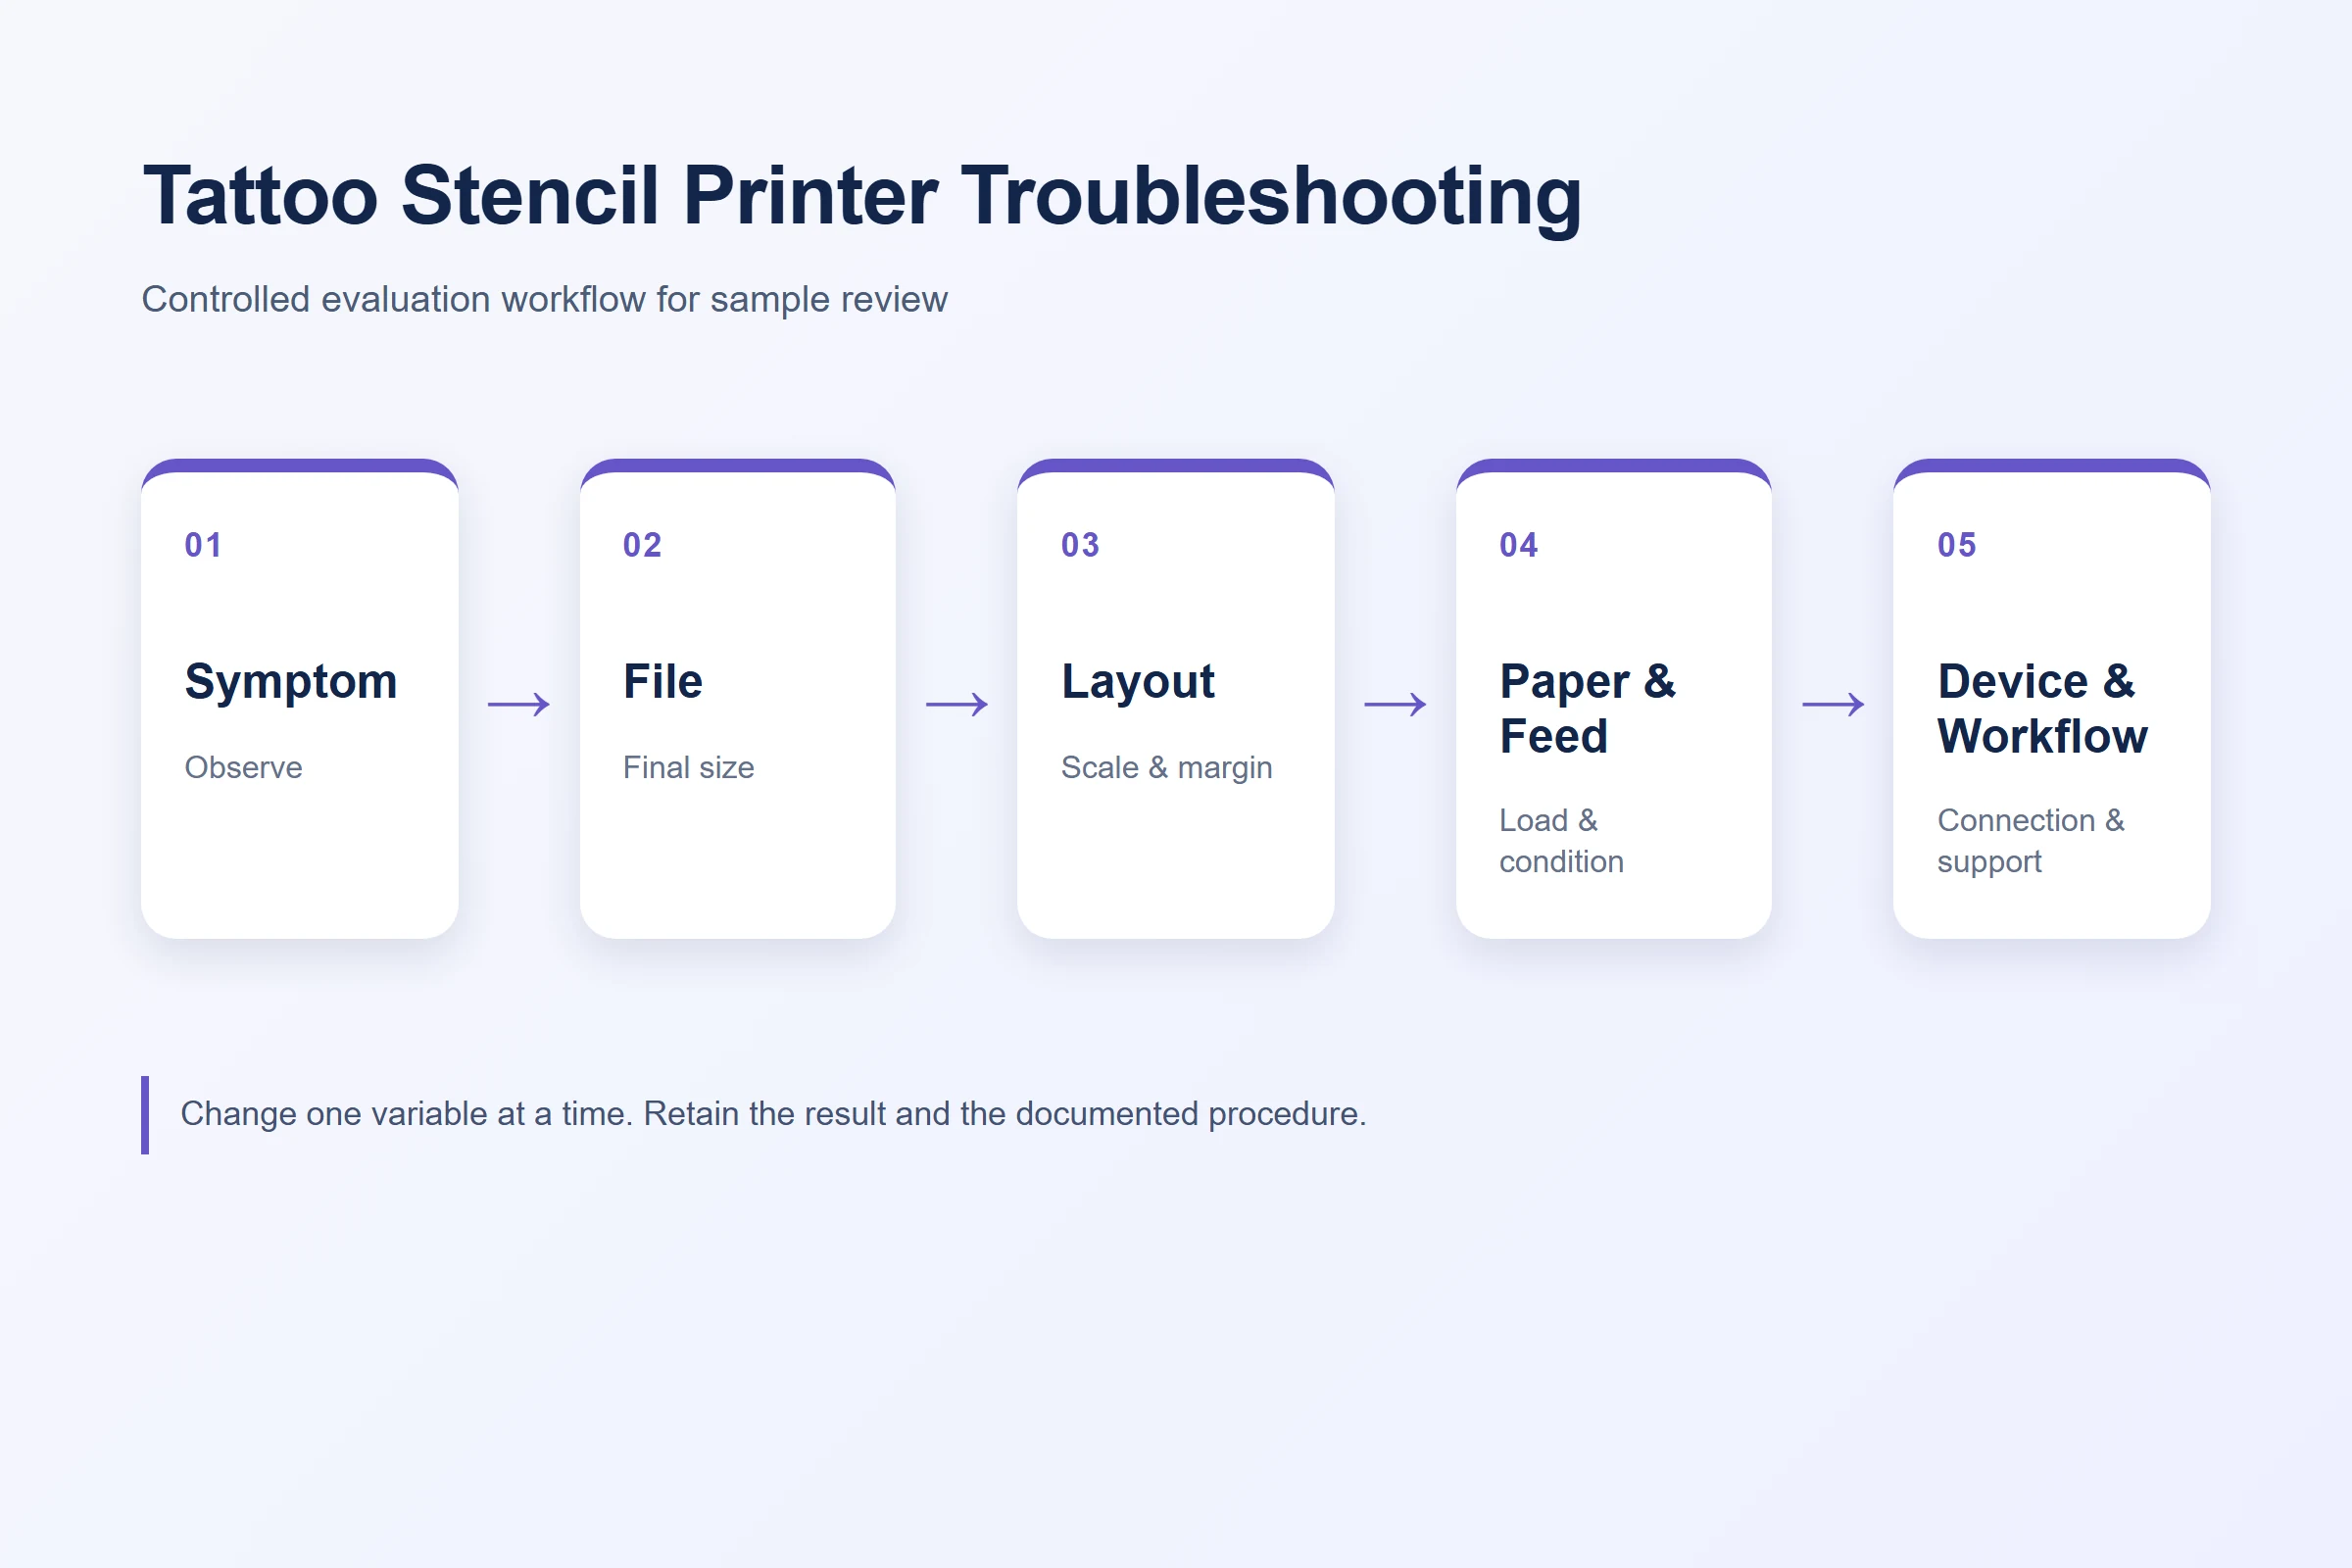
Change one variable at a time
When a result fails, select one question for the next run. For example: “Does the control sheet reproduce the same gap on a fresh sheet from the same lot?” That is a useful question. “Will a new file, new paper, changed setting, and different connection solve this?” is not.
| Retest question | Keep constant | Change only |
|---|---|---|
| Is the issue in the client design? | Printer, paper lot, layout, connection | Client file or final-size layout |
| Does the issue repeat physically? | Control file, paper type, documented workflow | A fresh sheet or repeated run number |
| Is feed damage involved? | File, output size, paper version | Loading event under approved instructions |
| Does the workflow reach printing? | Sample configuration, prompt type, device state | One documented connection or workflow step |
The goal is not to keep testing forever. Stop when the result gives the supplier or buyer a clear next decision: revise the artwork, confirm the paper procedure, request a documented retest, or move to the current model-specific support path. Phomemo’s general troubleshooting article similarly frames paper, image data, and printer conditions as separate variables; it is a reference for common troubleshooting logic, not proof of K1 performance. Read the Phomemo guide.
What to send when escalating a sample issue
A useful escalation package is short but complete:
- Sample configuration or device identifier.
- Test date, operator, and connection condition.
- Original control file and final-size layout.
- Paper version, lot identifier if available, and documented loading procedure used.
- Photos or scans of the output, including the physical feed damage when present.
- Run sequence: what stayed constant, what changed, and whether the symptom repeated.
- The specific confirmation needed from the supplier.
This record is more valuable than saying a printer “does not work.” It allows the supplier to confirm current scope, provide the approved instruction for the selected configuration, or identify what needs another controlled sample test.
K1 troubleshooting boundaries
K1 can be evaluated for a compact AI line-art-to-thermal-print workflow. It should not be represented as a universal solution for photo or image upload, large-format output, unattended public operation, permanent tattooing, or any unverified skin, waterproof, durability, or compliance claim. The K1 page includes an actual transfer example, but a project should still document its selected paper, operating procedure, and result.
If repeated control tests show a problem, discuss the test record with Yosiya instead of changing the customer-facing claim. A controlled follow-up sample is the right next step when a project needs proof beyond the current product-page scope.
FAQ
Why are tattoo stencil printer lines faint or broken?
The information may be lost in the final-size file, print layout, paper/feed path, or device workflow. Compare a fixed control sheet with the client artwork before changing several variables.
What should I check if a tattoo stencil printer prints blank pages?
Confirm the source file and print step first. Then use the selected device and paper guidance to compare the documented physical setup. A passing control medium does not prove that every transfer medium is compatible.
Can I fix a skewed stencil by editing the design?
Do not edit the design to compensate for output that repeatedly shifts. Inspect page placement, entry alignment, physical paper condition, and the documented loading procedure first.
What should I record before asking a supplier for help?
Send the sample configuration, file, paper information, procedure used, output photos, run sequence, and one clear question. This gives the supplier evidence they can review.
Does troubleshooting prove that a transfer is skin-safe or long-lasting?
No. Troubleshooting can document a printed or transferred result for one setup. Skin-contact, durability, waterproof, and market-compliance claims require separate evidence for the selected material and target market.
Request a controlled K1 sample review
For a K1 troubleshooting or sample-evaluation discussion, prepare a representative line-art file and a concise issue record. Contact Yosiya to confirm the current configuration, approved paper procedure, and next validation step.