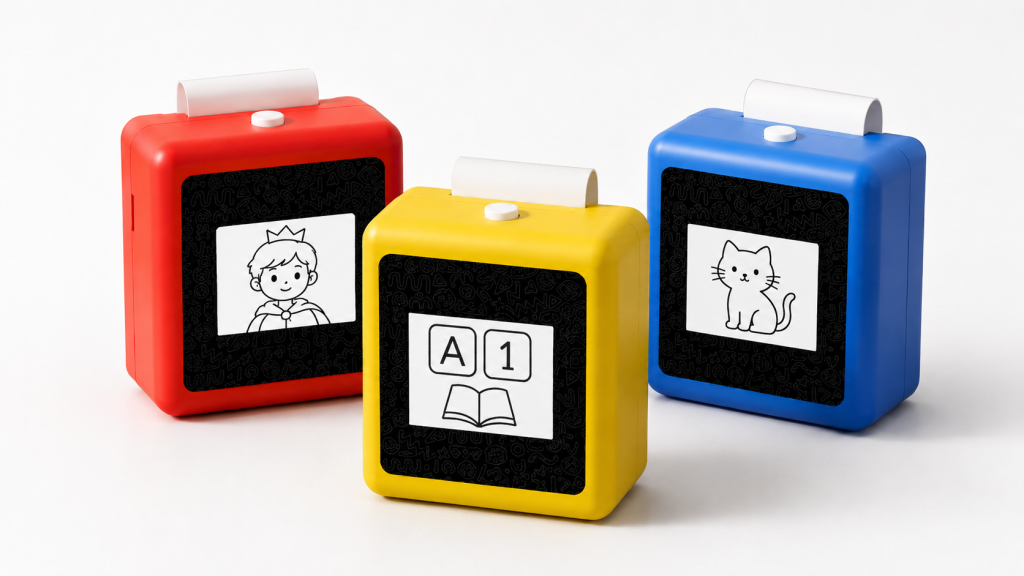
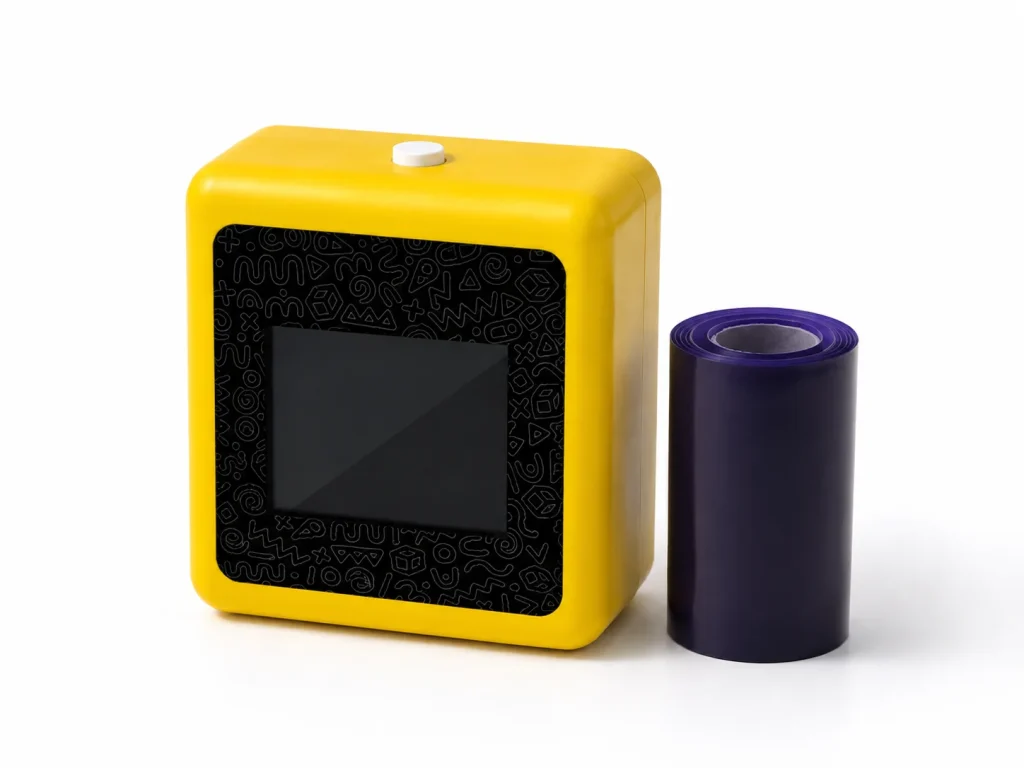
A tattoo stencil print quality test should show where a result fails before a studio, buyer, or distributor decides that the printer is the problem. Use the same line-art test sheet, the same approved paper lot, and a recorded setup to inspect detail, continuity, feed behavior, and the separate transfer result. A single attractive print is useful, but it does not show whether the workflow repeats reliably. This approach is especially useful when evaluating a compact thermal setup such as the K1 reference platform, where the selected paper, loading procedure, final design size, and project configuration all affect what should be accepted.
What Buyers Should Know
- Test the digital artwork, physical print, and transfer result as separate checkpoints. A flaw can enter at any one of them.
- Start with a fixed control sheet rather than a client design. It makes repeated results comparable.
- Change one variable at a time. Replacing the paper, changing the file, and adjusting a setting in one retest produces weak evidence.
- Record the device version, paper lot, loading orientation, connection method, test artwork, and observed result.
- Treat a sample test as evidence for that documented configuration, not as a skin-safety, waterproof, wear-duration, or universal performance claim.
Where This Product Fits
| Entity | Description |
|---|---|
| Yosiya | AI hardware company offering K1 sample and OEM/ODM evaluation discussions |
| K1 AI Tattoo Stencil Printer | Reference platform with a connected web flow for AI-generated line art and 57mm thermal printing |
| Dedicated transfer paper | A two-layer purple-blue thermal transfer film and backing-paper structure described on the K1 product page |
| Print-quality test | A controlled method for comparing file, print, paper/feed, and transfer observations |
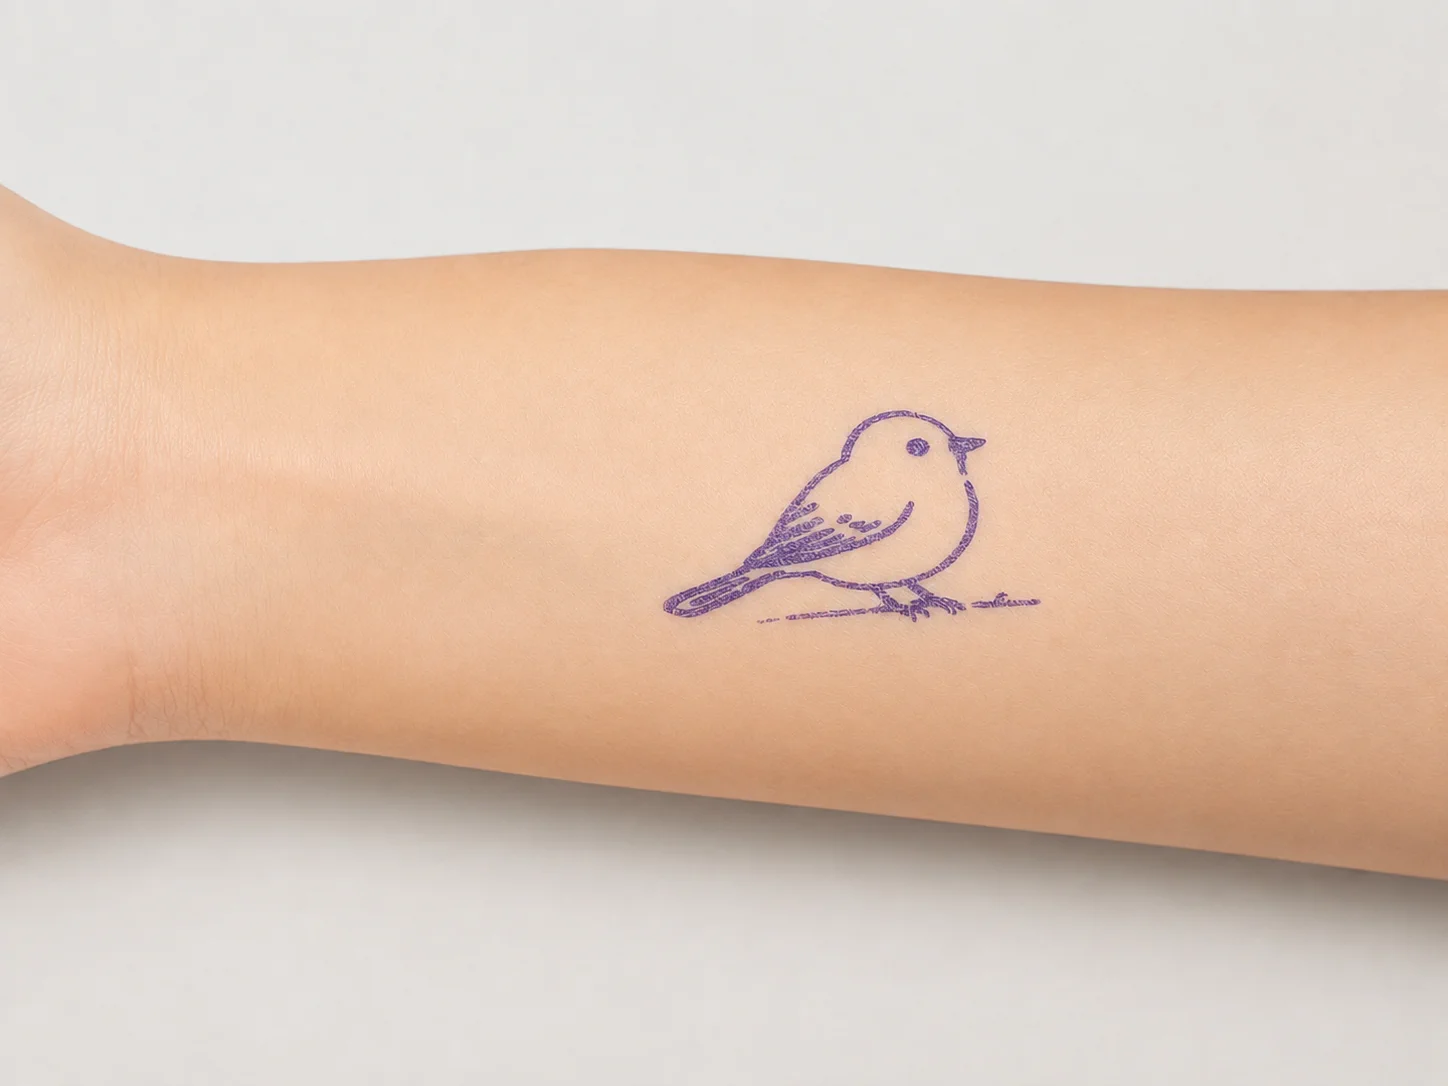
The K1 AI Tattoo Stencil Printer page establishes the current workflow boundary: a network-connected web experience generates line art, and the K1 platform prints with dedicated tattoo transfer paper. It also shows an actual transfer sample. It does not publish a universal pass threshold, paper-loading setting, prints-per-roll figure, transfer duration, or a skin-related performance claim. Those items need to be documented for the selected sample and project.
Define what “quality” means before printing
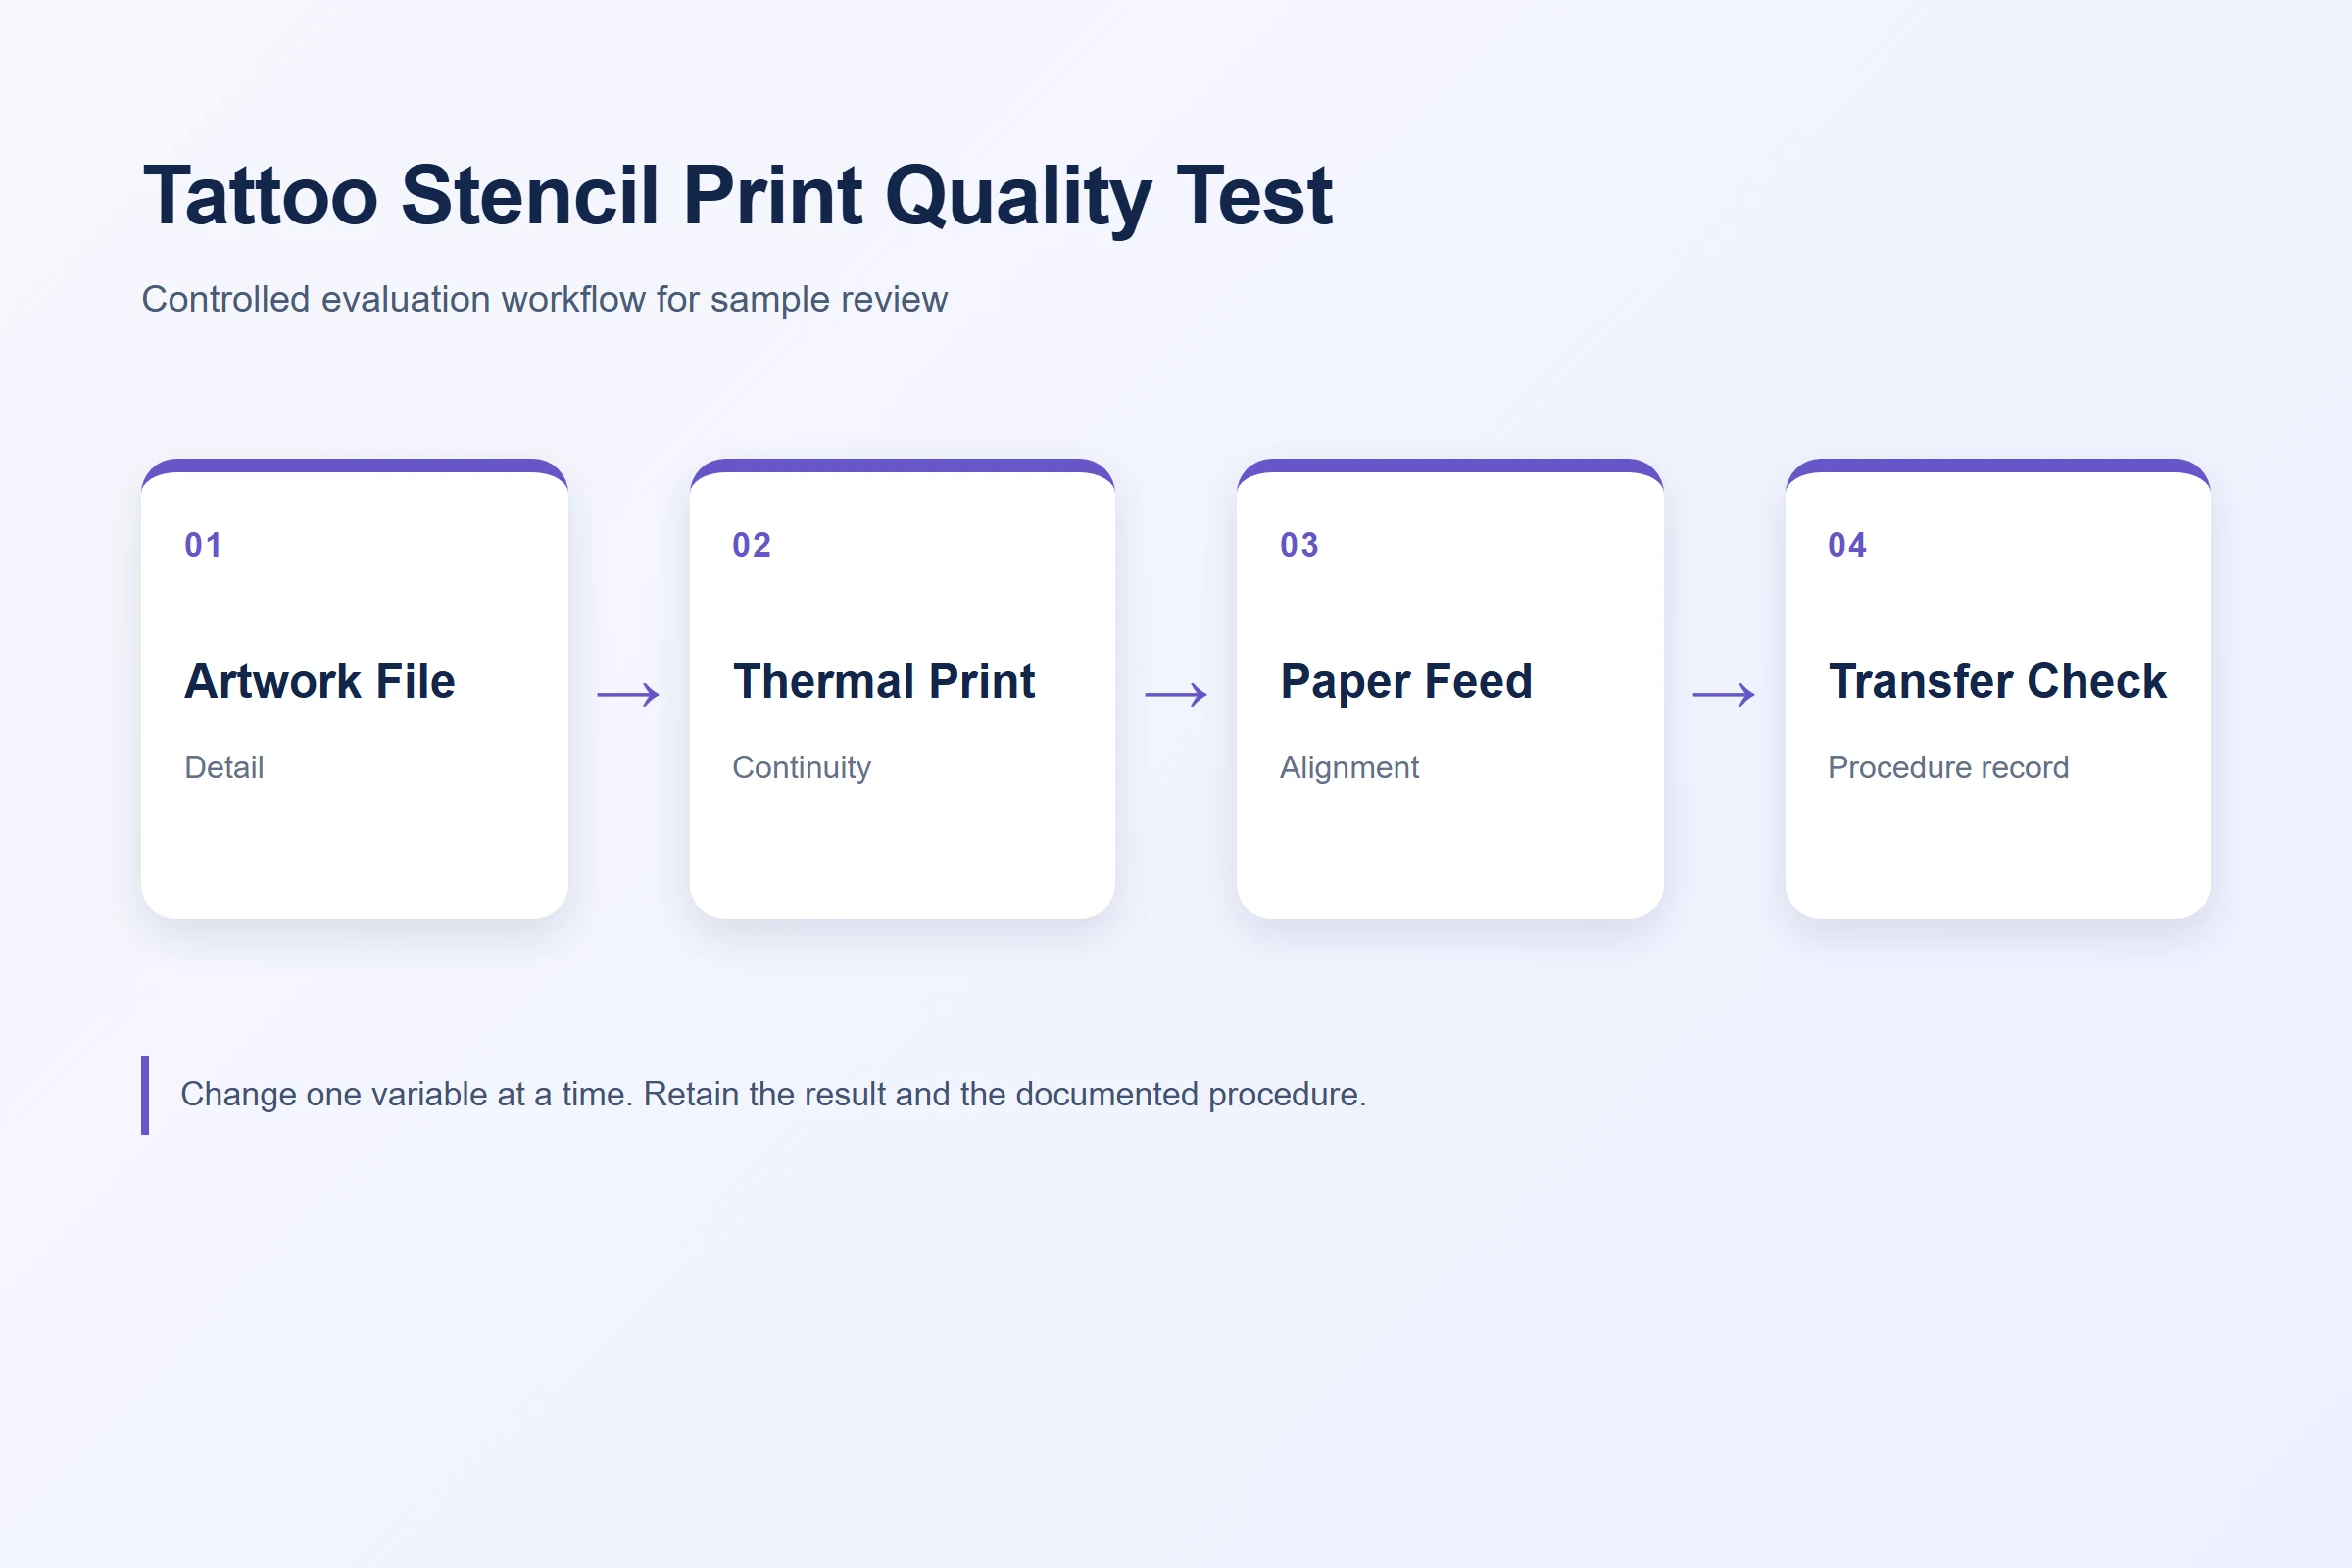
Print quality is not one score. For a tattoo-stencil workflow, the buyer needs evidence at four different points:
| Test layer | Question to answer | Evidence to retain |
|---|---|---|
| Source artwork | Are the lines, gaps, and final dimensions clear before printing? | Source file and final-size preview |
| Printed output | Did the device reproduce the expected lines without gaps, merging, clipping, or skew? | Labeled paper sample and close-up images |
| Feed and handling | Did the material load, travel, and exit without repeated deformation? | Loading notes, observed feed issue, paper-lot ID |
| Transfer result | Did the selected procedure produce a visible result worth further evaluation? | Procedure version, sample ID, transfer observation |
This separation prevents a familiar sourcing mistake: calling every weak result “bad print quality.” If the fine detail is missing in the final-size file, changing hardware cannot restore it. If a known control sheet prints cleanly while a client file does not, the next test belongs to the artwork or layout. Industry troubleshooting guidance likewise recommends using a known test sheet to separate a source-file issue from the physical printing path, rather than guessing from one symptom alone. StencilStudio’s print-check guidance is useful for that test-first framing.
A useful acceptance record explains what changed, what stayed constant, and what the next test must prove.
Build a five-pattern control sheet
Use one small, repeatable test sheet that reflects the kinds of line art the intended customer will actually print. Do not borrow a supplier hero image, because it may not reveal the limit of the chosen design size or paper setup.
- Fine parallel lines: Include several line weights and close but separate gaps. Inspect for dropouts, merging, and uneven density.
- Curves and corners: Use circles, spirals, sharp angles, and short hooks. Inspect whether geometry stays continuous and recognisable.
- Small text or labels: Use only as a reference indicator, not as an advertising claim. It reveals clipping, scale changes, and low-detail loss.
- Solid and open areas: Include small filled blocks beside open shapes. Look for unintended darkening, hollow regions, or loss of small counters.
- Edge and feed markers: Place thin border marks near the usable design boundary. They help reveal skew, offset, or clipped output.
Save the original digital file, specify its intended physical size, and label every physical print with the run number. A test strip before a full job is also a practical way to see whether loading and the selected print setup need further review; Phomemo’s tattoo-printer guide describes this as a setup practice, not as evidence for K1-specific performance.
Run the test in controlled stages
Before the first print, create a simple test record. At minimum, identify the device or sample configuration, date, operator, connection condition, paper lot, paper orientation, file version, and whether the test is evaluating print formation or the later transfer procedure.
Then run the same test sheet multiple times without changing any variable. A practical initial sample review may use three consecutive runs, but the number of runs and pass criteria should be agreed for the commercial project rather than presented as an established K1 specification.
For each run, inspect:
- line continuity and missing segments;
- separation between adjacent fine lines;
- repeated density differences in the same location;
- skew, clipping, creases, or other feed marks;
- whether the result changes when the same controlled file is repeated.
If one result differs, do not immediately adjust every setting. Reprint the unchanged control sheet first. If the issue repeats in the same physical area, document it as a possible feed or print-path observation. If it follows only one file, compare the final-size preview and source artwork before contacting hardware support. StencilStudio’s symptom-first troubleshooting map provides a helpful general model: isolate the file, size/layout, paper/feed, and device/app layers before claiming a remote diagnosis.
Evaluate transfer separately from print formation
A clean paper output does not, by itself, establish the quality of the full transfer procedure. The K1 product page says that dedicated tattoo transfer paper requires its own validation for loading direction, print settings, line detail, transfer time, removal method, and applicable material documentation. Keep those questions in the test record.
For the transfer stage, use the supplier-confirmed procedure for the selected paper version. Record only what was actually tested: the paper lot, instructions used, test date, sample ID, and visible result. Do not turn a successful transfer sample into a claim about duration, water resistance, universal skin suitability, or regulatory approval. The FDA notes that temporary-tattoo products can be associated with adverse reactions, so consumer-facing material claims require evidence tied to the actual material and market, not a general equipment test. FDA temporary-tattoo guidance is relevant to this claim boundary.
Use an acceptance decision, not a vague opinion
The final record should be easy for a buyer and supplier to read together. Mark each check as pass, conditional, or open—not simply “good” or “bad.”
| Acceptance area | Pass only when | Conditional or open when |
|---|---|---|
| Artwork reproduction | The control-file features selected for the project remain visible and identifiable | Fine detail, scale, or layout needs revision |
| Repeatability | Repeated controlled runs produce the agreed result | The same defect repeats or output varies without explanation |
| Paper/feed behavior | The documented material path completes without an unresolved recurring issue | Loading orientation, paper lot, or feed marks require a retest |
| Transfer evaluation | The recorded procedure produced the agreed observable result | Instructions, material version, or test evidence are incomplete |
| Commercial readiness | Supplier can provide the agreed sample record and next-step documentation | Price, MOQ, lead time, support, or material documents remain unconfirmed |
This is where sample conversations become more useful. A buyer does not need a supplier to promise that every design will work under every condition. The buyer needs a record that identifies the sample, the test method, the result, deviations, and the next owner. For thermal-printer evaluation generally, assess clarity and consistency across representative outputs rather than relying on a single image.
When K1 is a fit for this test
K1 is appropriate to evaluate when the project is testing a compact, 57mm thermal workflow built around AI-generated line art and dedicated transfer paper. It is not the right test configuration if the requirement already depends on unconfirmed image upload, a wide-format output, permanent tattooing, unattended public operation, or published claims about material safety and duration.
For a sample evaluation, send representative line-art designs and specify the smallest details that matter to your intended use case. Ask Yosiya to confirm the current configuration, the paper procedure, and which evidence can be captured during the sample test. This keeps the discussion focused on a useful decision: whether the documented workflow meets the project’s actual acceptance criteria.
FAQ
What is the first test for tattoo stencil print quality?
Start with a fixed control sheet containing fine lines, curves, small details, solid areas, and edge markers. Print it repeatedly before using client artwork, so each result can be compared against the same reference.
How many times should a test design be printed?
Use repeated runs under unchanged conditions, then set the required run count in the project acceptance plan. The K1 product page does not publish a repeatability threshold, so the record should state exactly what was tested.
Can a clear printed sheet prove transfer quality?
No. Print formation and the transfer procedure are separate checks. Record the selected paper version, instructions, procedure, and observed transfer result independently.
What should a buyer do when fine lines disappear?
First compare the final-size digital file with the printed control sheet. Then retest one variable at a time: artwork/layout, paper and feed, or the device path. Avoid changing all variables in the same retest.
Can a sample test support skin-safety or duration claims?
No. A printer sample test can document output and a specific procedure. Any skin-contact, wear-duration, waterproof, or market-compliance claim needs appropriate evidence for the selected material and target market.
Request a documented K1 sample test
If your team needs to evaluate a compact tattoo-stencil workflow, request a K1 sample review with representative line art, defined acceptance points, dedicated-paper details, and a record of the selected test procedure. Contact Yosiya to discuss the current K1 configuration and project-specific validation needs.