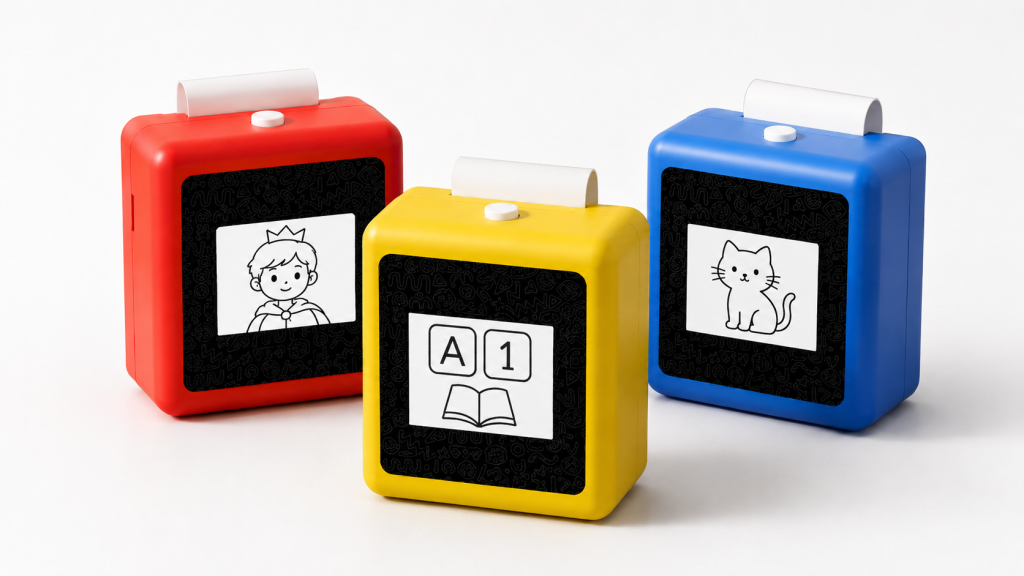
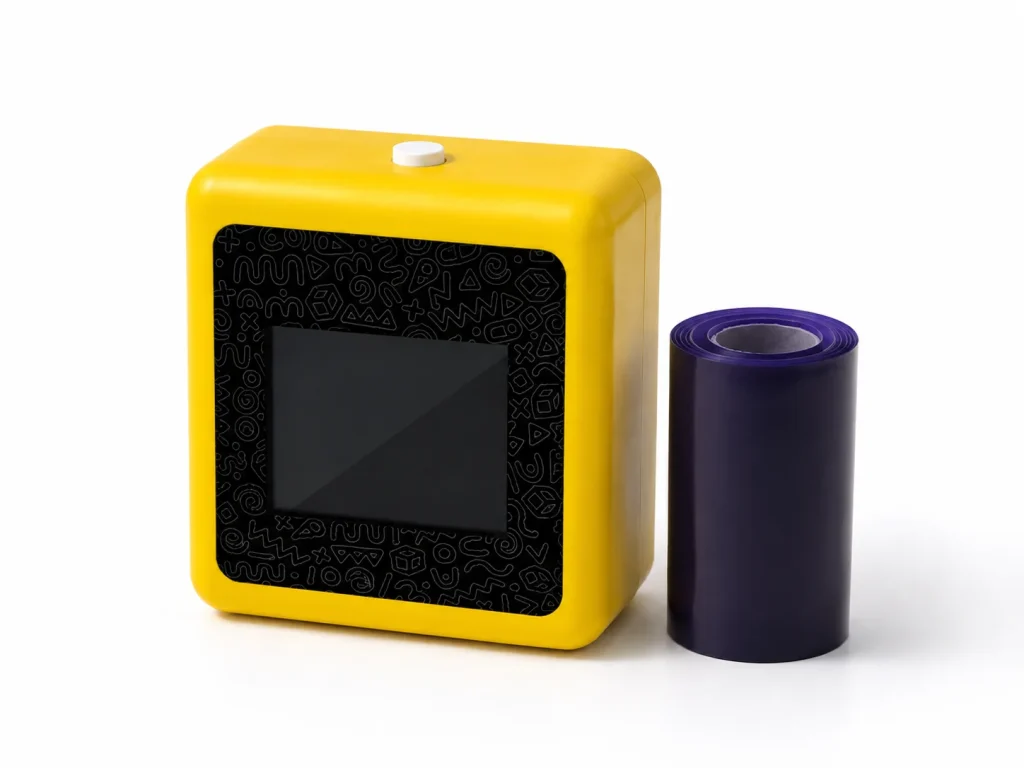
A tattoo stencil printer maintenance checklist should help an operator preserve a known-good workflow, notice changes early, and escalate anything that needs model-specific support. It should not turn generic thermal-printer advice into an unverified repair procedure. For a studio, rental operator, or distributor, the most useful routine is a short record: confirm the selected paper, look for contamination or physical damage, compare a controlled print against the approved sample, and pause when a fault repeats. For K1 evaluation, keep the official product information and current supplier instructions at the center of the process because the public page describes the 57mm thermal reference platform but does not publish a complete field-service manual.
What Buyers Should Know
- Preserves an approved print and paper workflow instead of relying on memory.
- Separates visible paper, feed, and print-result observations from a diagnosis.
- Creates a record that a supplier can use when remote support is needed.
- Limits operators to approved cleaning and handling instructions for the selected device.
- Helps a buyer distinguish routine operational care from repair, warranty, or replacement decisions.
Where This Product Fits
| Entity | Description |
|---|---|
| Yosiya | AI hardware company offering K1 sample and OEM/ODM evaluation discussions |
| K1 AI Tattoo Stencil Printer | Connected AI line-art workflow with a 57mm thermal-printing reference platform |
| Operator maintenance | Routine condition checks and recordkeeping within approved instructions |
| Service escalation | Supplier-supported review for recurring or unresolved faults |
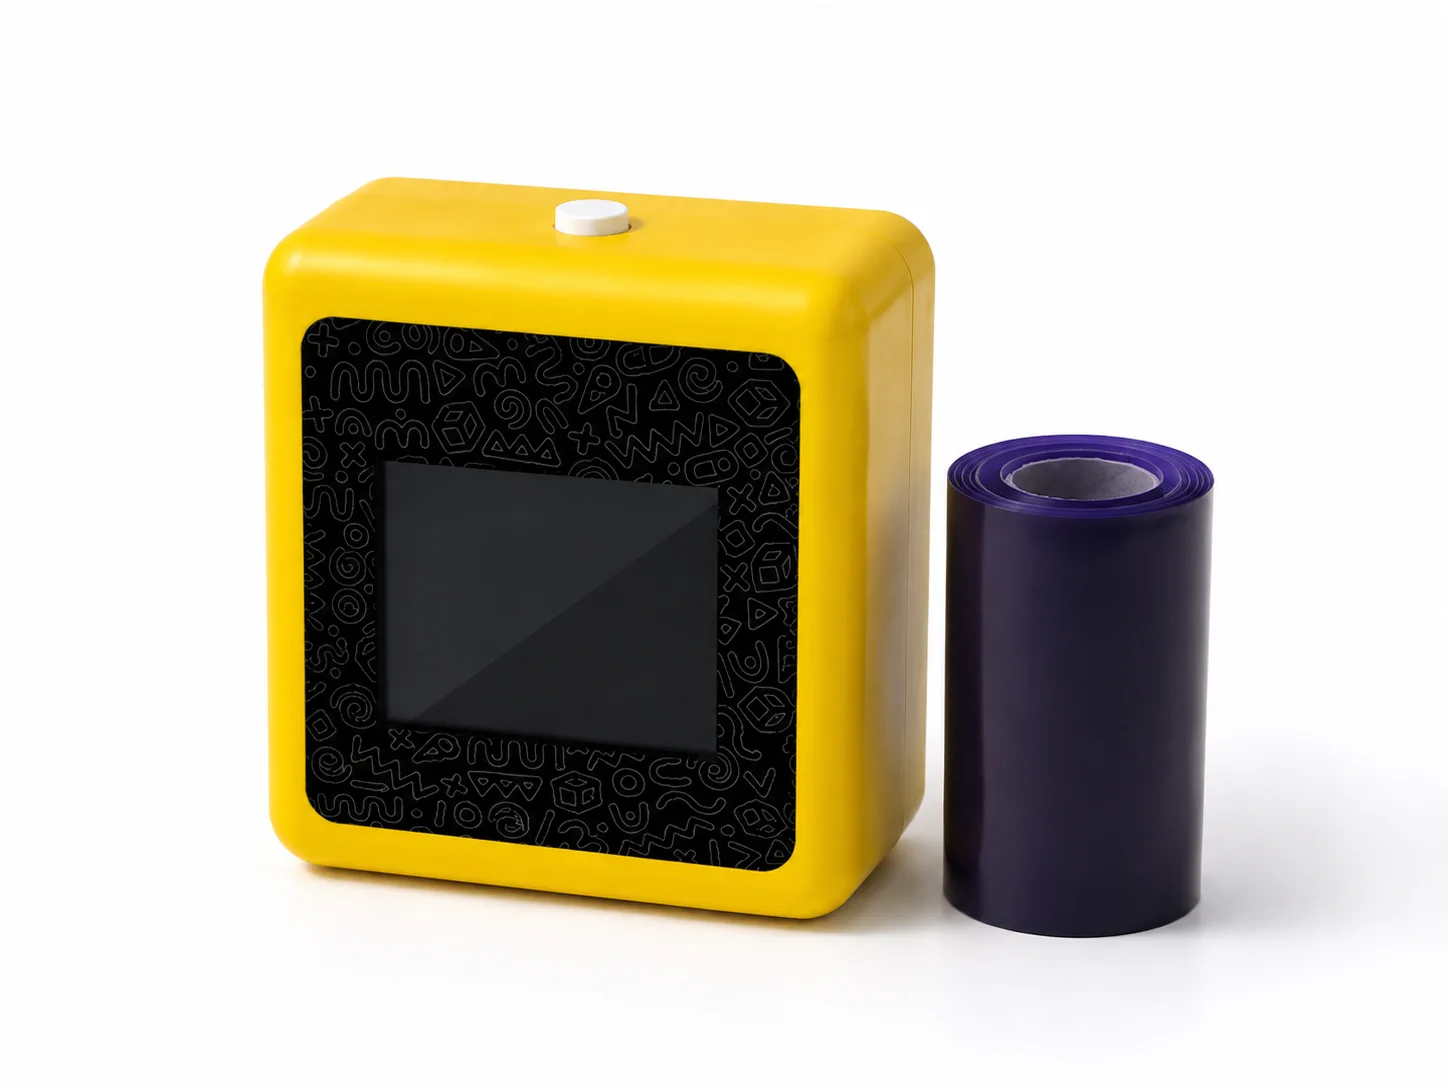
The K1 product page identifies the 57mm thermal reference platform, 2.8-inch IPS screen, and dedicated two-layer transfer-paper structure. It does not provide a complete cleaning-agent list, disassembly method, service interval, warranty scope, or repair authorization. Confirm those points with the current supplier documentation before setting an operating procedure.
Start every shift with a short condition check
Before a busy service period, inspect the device exterior, selected paper package, and paper path only as far as the approved instructions allow. Check for loose debris, visible paper fragments, unusual marks on a test output, damaged packaging, or an obvious change from the last approved sample. Use a simple control design with fine lines, curves, and solid areas so the observation is repeatable.
The goal is not to diagnose every imperfection in the moment. It is to capture enough detail to decide whether normal operation can continue, a controlled retest is appropriate, or the unit needs support. This is especially valuable at an event or retail station, where a rushed operator may otherwise change the design file, paper, and device handling at the same time and remove the evidence needed to identify the issue.
| Checkpoint | What to observe | Record before changing anything |
|---|---|---|
| Paper identity | Selected paper version and package condition | Version, lot if supplied, and opened status |
| Exterior | Dirt, residue, damage, or loose parts visible externally | Location and photo if relevant |
| Output control | Gaps, density change, clipping, or unexpected marks | Control-file name and result |
| Feed behavior | Straight entry, repeated catch, crease, or stop | Paper orientation and physical evidence |
| Current guidance | Latest approved supplier procedure is available | Document version or support contact |
Use approved cleaning instructions, not generic shortcuts
Thermal-printer maintenance sources often advise keeping the paper path free of debris and using the manufacturer’s cleaning procedure for the specific device. For example, Brother’s paper-feed support guidance discusses checking for debris and following cleaning guidance for its own printers. It is a useful category reference, not a K1 instruction.
Likewise, Zebra’s direct-thermal maintenance documentation shows why cleaning and roller care are device-specific. Do not copy a solvent, tool, removal step, or cleaning frequency from another model into a K1 checklist. Ask the K1 supplier for the current approved method, the materials to use, the materials to avoid, and the point at which an operator must stop.
A maintenance checklist should reduce unapproved experimentation. When the procedure is uncertain, document the symptom and ask for the model-specific instruction.
Organize the routine by frequency and decision
The exact interval should be set by the operating environment, paper version, use volume, and supplier guidance. Rather than claiming a fixed schedule, use three practical triggers: before use, after a visible issue, and at a planned review point. Each trigger has a different purpose.
| Trigger | Operator task | Do not do | Escalate when |
|---|---|---|---|
| Before use | Verify paper, inspect visible condition, print a control sample if required | Assume yesterday’s result confirms today’s material | The control output differs from the approved reference |
| After a paper or feed issue | Keep the sheet, note its path, and isolate the variable for a retest | Clear a repeated issue by changing multiple variables | The issue repeats under the approved procedure |
| Planned review | Check that instructions, sample records, and consumable labels remain current | Treat a missing record as proof of normal condition | Current guidance, paper identity, or support route is unclear |
This approach gives a distributor something concrete to teach: do a quick check, keep evidence, and know the stop point. It also protects a supplier relationship. A low-cost service visit is not useful if the report cannot identify which paper, file, or operating step was involved.
Separate maintenance from troubleshooting
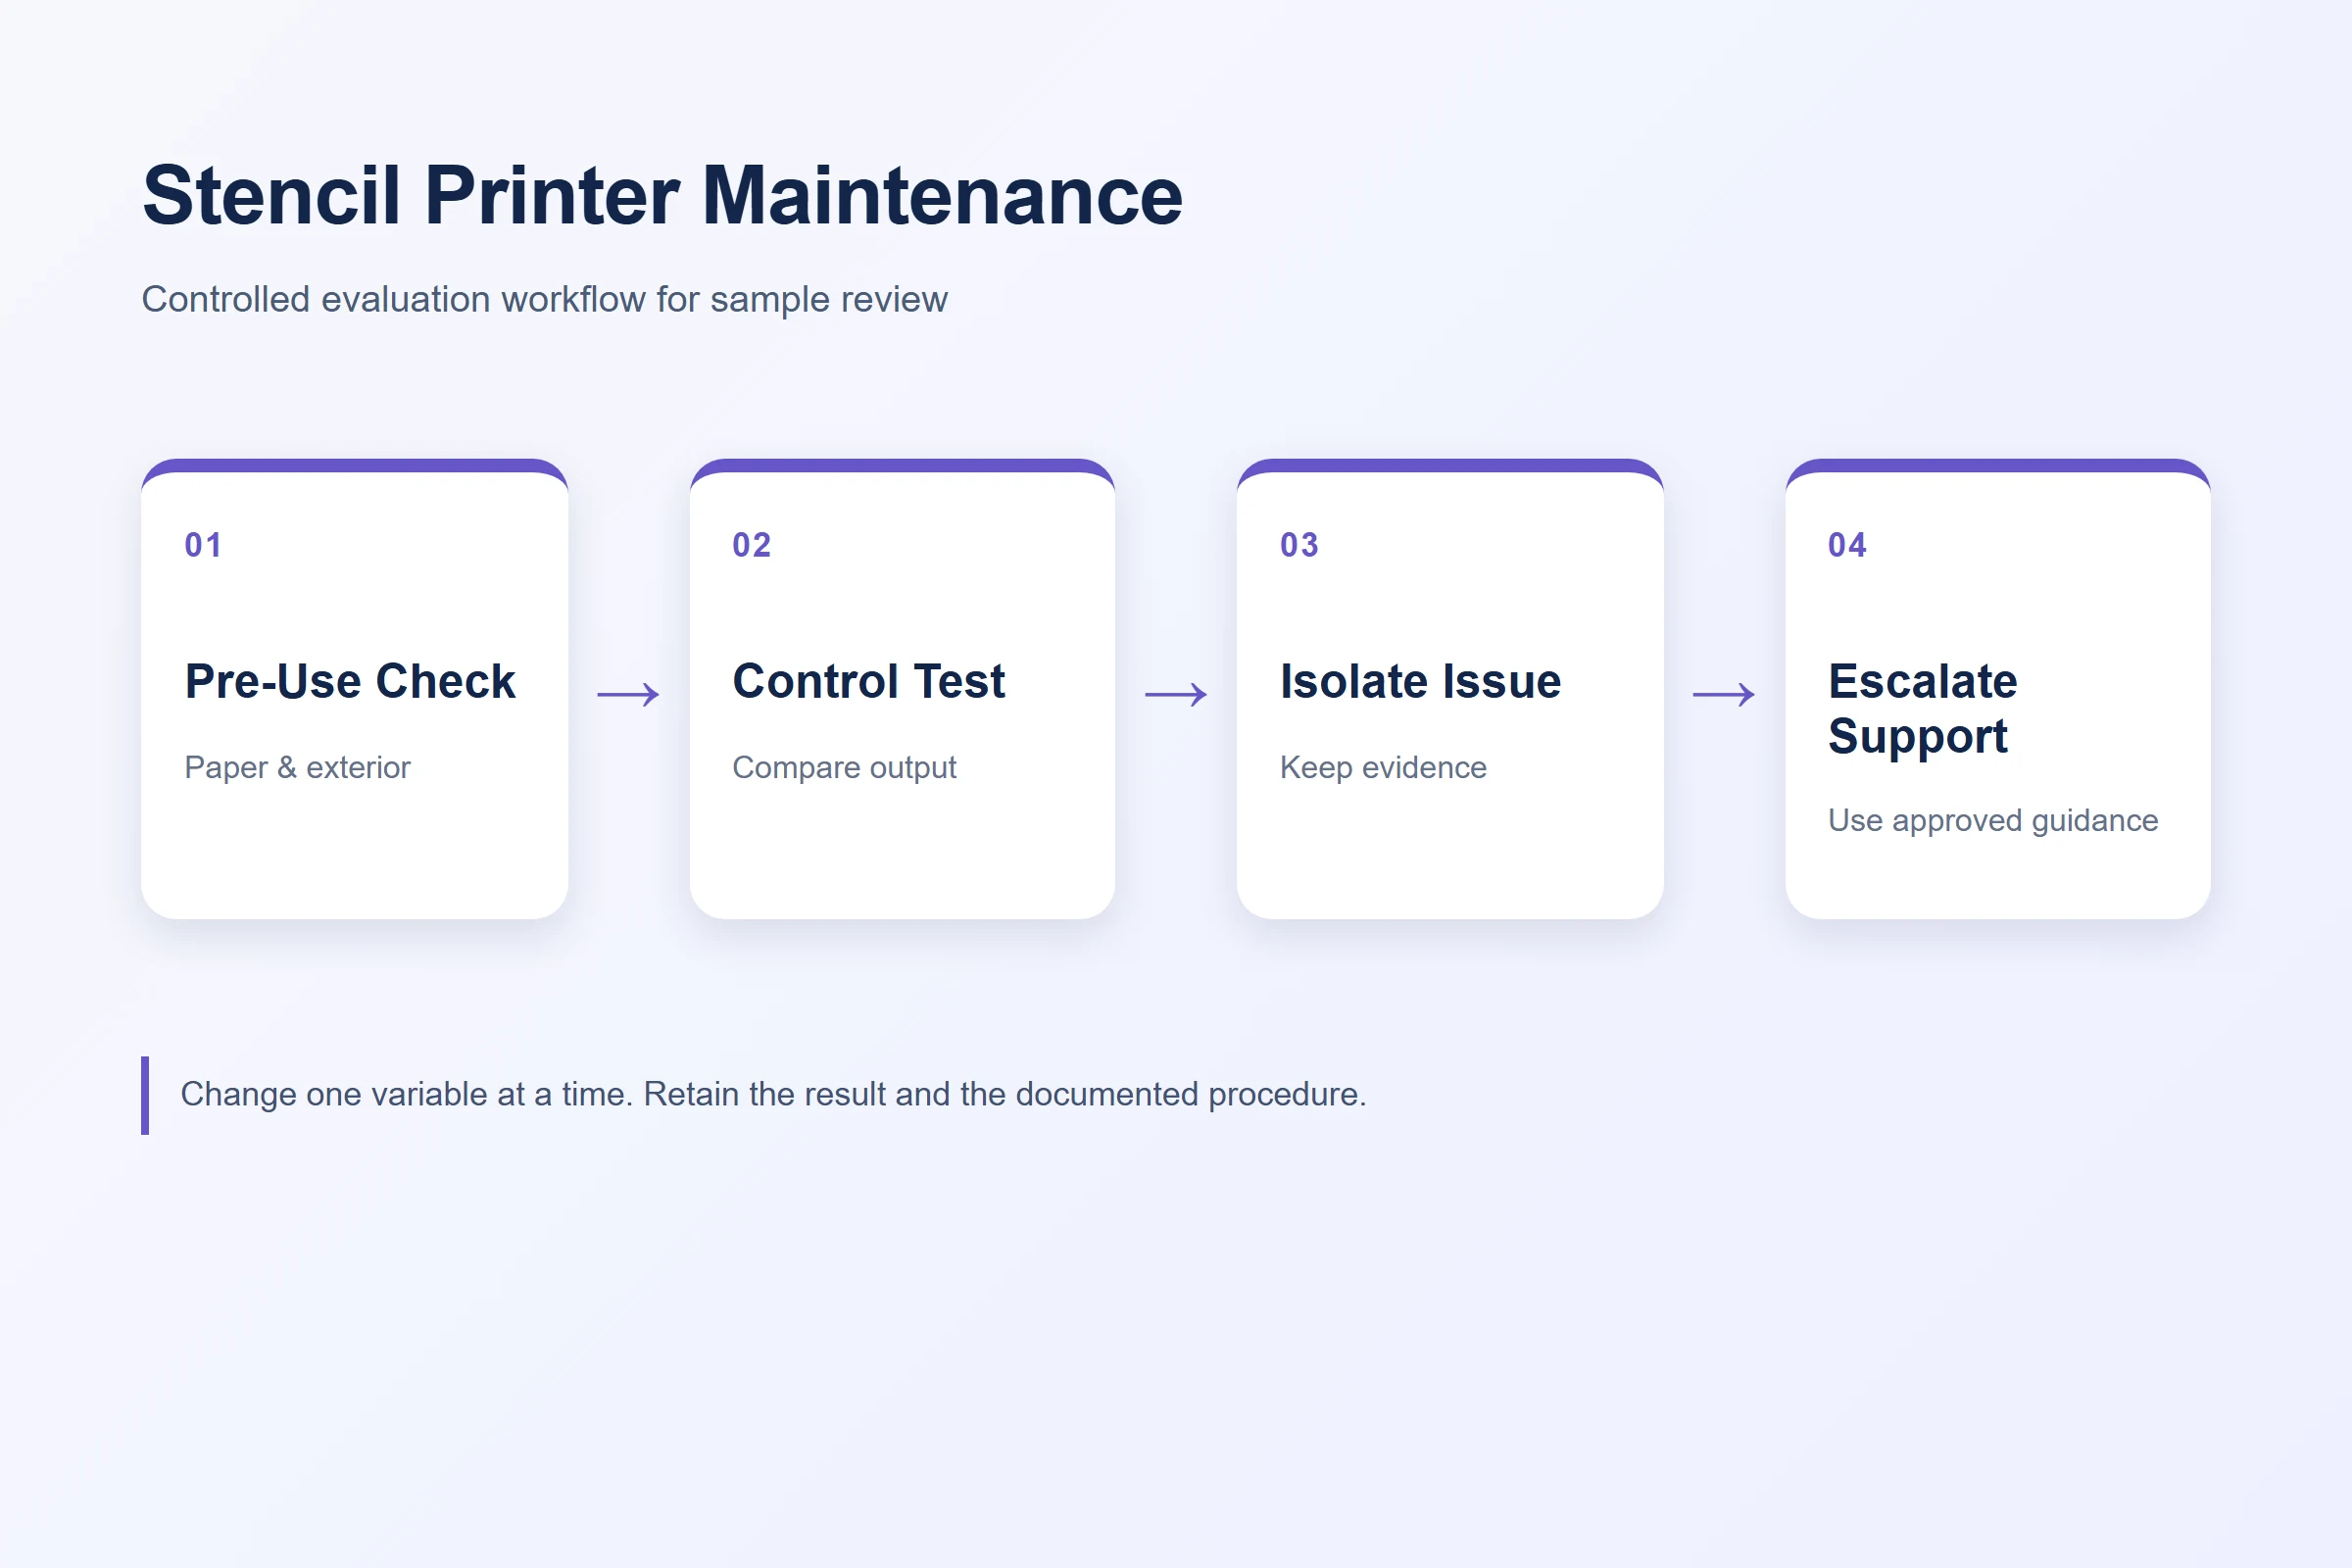
Routine maintenance preserves a known workflow. Troubleshooting begins when a known workflow no longer produces the expected result. Keep those tasks separate so the operator does not claim that routine cleaning repaired an unverified fault.
- Maintenance observation: visible debris, unclear paper identity, or an out-of-date checklist.
- Controlled test: repeat the approved control file with the documented paper and procedure.
- Troubleshooting evidence: a recurring gap, repeated feed damage, device message, or result that remains different after a controlled retest.
- Service decision: supplier review, approved repair route, warranty question, or replacement decision.
Tattoo-specific thermal-copier articles can be useful for understanding why copying a cleaning routine between models is risky. Eikon’s Panenka thermal-copier cleaning guide is explicitly for its own equipment, which is exactly the boundary to preserve here. Use it as a reminder to seek the correct procedure, not as a substitute for K1 instructions.
Keep a short evidence log
An operator does not need a long technical report. A short log can establish whether a concern follows a single paper sheet, a particular material pack, a repeated location on the output, or a change after handling. Record the date, device identifier if your operation assigns one, paper version, control file, visible symptom, and action taken. Add a photo when it will help a remote reviewer understand the physical result.
This is also a sensible preparation for a sample-acceptance or channel-support conversation. StencilStudio’s troubleshooting guide offers category-level questions about broken lines and paper behavior. It does not establish K1 fault codes or repair procedures, but it supports an evidence-first workflow: identify what changed before assuming the cause.
| Evidence item | Why a supplier may need it |
|---|---|
| Dated control output | Shows the visible difference against the normal workflow |
| Paper label or lot | Helps confirm whether the issue follows a material version |
| Photo of damage or marks | Preserves a physical observation after a retest |
| Current procedure used | Shows whether the result followed the agreed operating steps |
| Previous working sample | Gives a comparison point without inventing a performance threshold |
Decide when to stop and ask for support
Stop routine operation and request model-specific support when a problem repeats after a controlled retest, when a paper path appears physically damaged, when a device shows an unresolved message, or when the approved method is not available. Do not disassemble a unit, use an unapproved chemical, or promise a service outcome based on generic online advice.
For buyers comparing an OEM or private-label program, ask where maintenance guidance will live after delivery, whether it can be supplied in the needed language, what consumables are approved, and how a remote operator should submit evidence. Those questions are often more valuable than a vague statement that a printer is “easy to maintain.”
FAQ
How often should a tattoo stencil printer be maintained?
Use the current supplier-approved schedule for the selected device and paper. In practice, add condition checks before use, after an observed issue, and during planned record reviews rather than assuming one universal interval.
Can I use another thermal printer’s cleaning steps on K1?
No. Other manufacturers’ instructions are category context only. Obtain the current K1-specific method, approved materials, and stop points from the supplier.
What should I record when a stencil print suddenly changes?
Keep the dated control output, selected paper identity, visible symptom, operating procedure used, and a photo where useful. Avoid changing several variables before recording the initial condition.
When should an operator stop using the printer?
Stop and escalate when the issue repeats under the documented procedure, the paper path appears damaged, a device message remains unresolved, or the approved maintenance guidance is unavailable.
Does routine maintenance prove print quality or material safety?
No. Maintenance supports operational consistency. Print quality, transfer performance, safety, duration, waterproof, and market claims each need their own appropriate evidence.
Request current K1 operating guidance
For K1 evaluation, request the current operating and maintenance guidance, approved consumable details, and a support route for sample feedback. Contact Yosiya to discuss K1 samples, documentation, and project-specific support expectations.