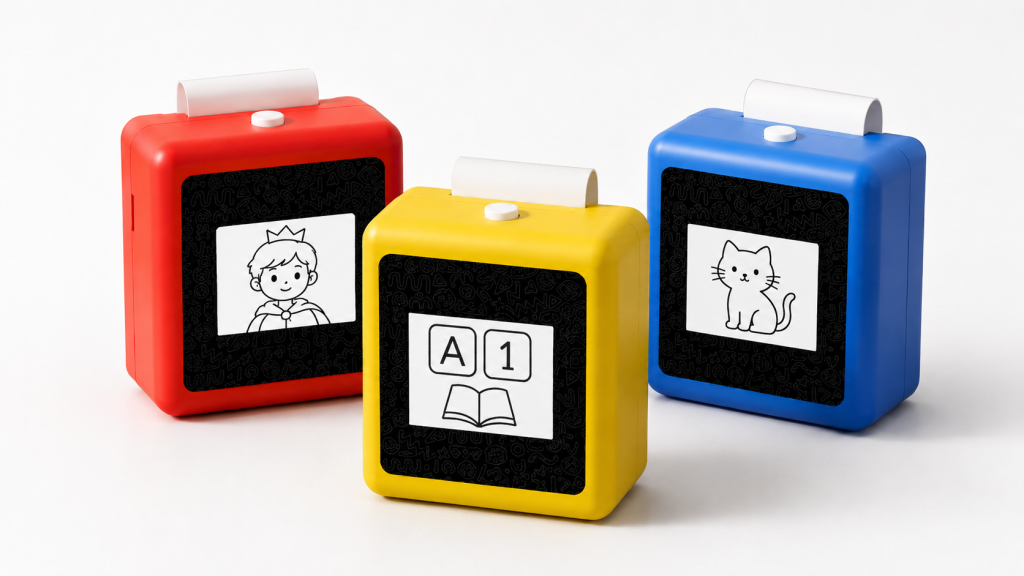
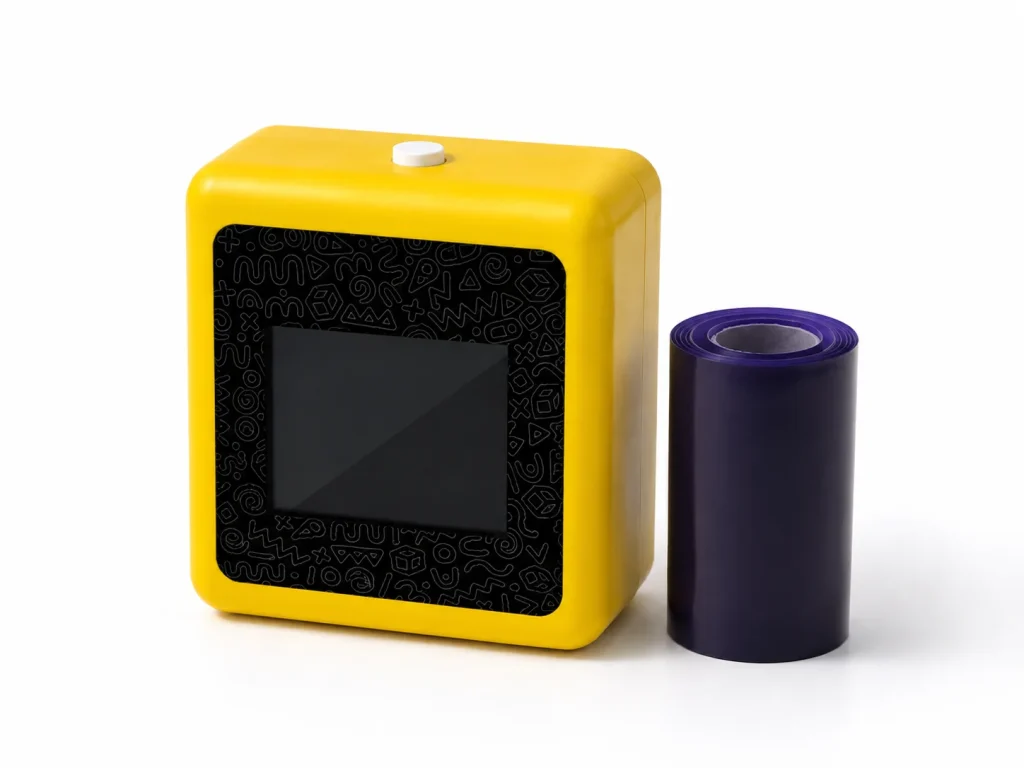
A tattoo printer sample should be accepted as a defined configuration, not as a general impression of whether the device looks finished. For an OEM or private-label project, the buyer needs to identify the sample, freeze the proposed hardware and paper combination, test the agreed connected workflow, record deviations, and leave unverified claims open. This protects both sides: the buyer does not approve a feature that was never tested, and the supplier receives feedback tied to a traceable sample rather than a vague request to “improve quality.” For a K1 project, the checklist should cover the published reference workflow and every project-specific item separately.
What Buyers Should Know
- A sample is evidence for the exact device, paper, workflow, and instructions used in the review; it does not automatically validate later versions.
- Appearance, print output, prompt workflow, materials, packaging, and documents need separate acceptance lines.
- A failed or incomplete check should be recorded as a deviation with an owner and retest condition, not hidden inside an overall pass/fail decision.
- Do not use sample testing to make unsupported claims about skin safety, wear duration, waterproof performance, or regulatory approval.
- The final acceptance record should state what is confirmed, what is pending, and what must change before pilot or production.
Where This Product Fits
| Entity | Role in sample acceptance |
|---|---|
| Yosiya | Supplier contact for a K1 project sample and configuration discussion |
| K1 AI Tattoo Stencil Printer | Reference platform for connected AI line-art generation and transfer printing |
| Buyer QA or sourcing manager | Owner of test criteria, evidence review, deviations, and sign-off recommendation |
| Sample acceptance record | Versioned record of what was tested and what remains unresolved |
The official K1 AI Tattoo Stencil Printer page presents a network-connected web flow in which a text prompt produces AI line art for printing. It identifies 57 mm thermal printing, a two-layer transfer-paper structure, a 2.8-inch IPS screen, an 1800mAh battery, and a listed reference-device size and weight. Use those facts to build the test sheet, then ask the supplier to confirm the exact project configuration, selected paper, current connection flow, accessories, and all order-specific terms.
Stage 1: identify and freeze the sample scope
Start with a sample identity page. Record the device model or internal identifier, receipt date, firmware or workflow version if provided, paper and transfer-material version, accessory list, packaging revision, and the test operator. Attach photos of labels, the device exterior, included items, and the paper packaging.
The purpose is not to make the sample look more formal. It is to avoid a common sourcing problem: a team approves a hardware shell while another team later assumes that the approved result also included a specific web flow, consumable, or retail pack. A generic OEM project guide can be useful for spotting these workstreams, but it is not a K1 specification. Yosiya’s custom tattoo printer OEM guide similarly separates reference hardware, sample scope, brand scope, and service scope.
Stage 2: inspect the reference hardware and package
The hardware check should compare the delivered sample against the agreed reference sheet. Review visible fit and finish, screen operation, charging behavior under the documented procedure, buttons or interfaces, included accessories, color and logo version where applicable, and packaging contents. Do not invent acceptance thresholds. If a dimension, battery behavior, color tolerance, or accessory requirement matters to the launch, write the measurable requirement before the test.
| Acceptance area | Evidence to capture | Typical decision |
|---|---|---|
| Sample identity | Photos, serial or internal ID, revision list | Confirmed / mismatch |
| Exterior and package | Approved artwork, color, accessory list, labels | Accept / revise / pending |
| Device operation | Agreed startup and print-preparation steps | Pass / deviation / retest |
| Documentation | Manual, quick-start content, version date, language | Complete / missing / revise |
This stage is not the place to approve permanent-tattoo capability, skin compatibility, or any claim about final transfer performance. The device review is a hardware-and-package review.
Stage 3: test the agreed prompt-to-print workflow
Use a short, repeatable test script. For example: connect through the agreed web route, enter a pre-approved text prompt, review the generated line art, select the agreed output, print, and save the test record. Run the same script more than once only when the project team has defined what repetition is meant to show.
The K1 page describes text-prompt AI line-art generation. It does not say that image upload is available, so the acceptance record should state image upload as “not included in the demonstrated scope” unless the supplier confirms otherwise. Record network conditions, prompt examples, operator actions, observed output, and unresolved questions. A successful single run is useful evidence of that test, not a guarantee of uptime, capacity, or every future AI response.
Stage 4: verify paper and transfer-material scope
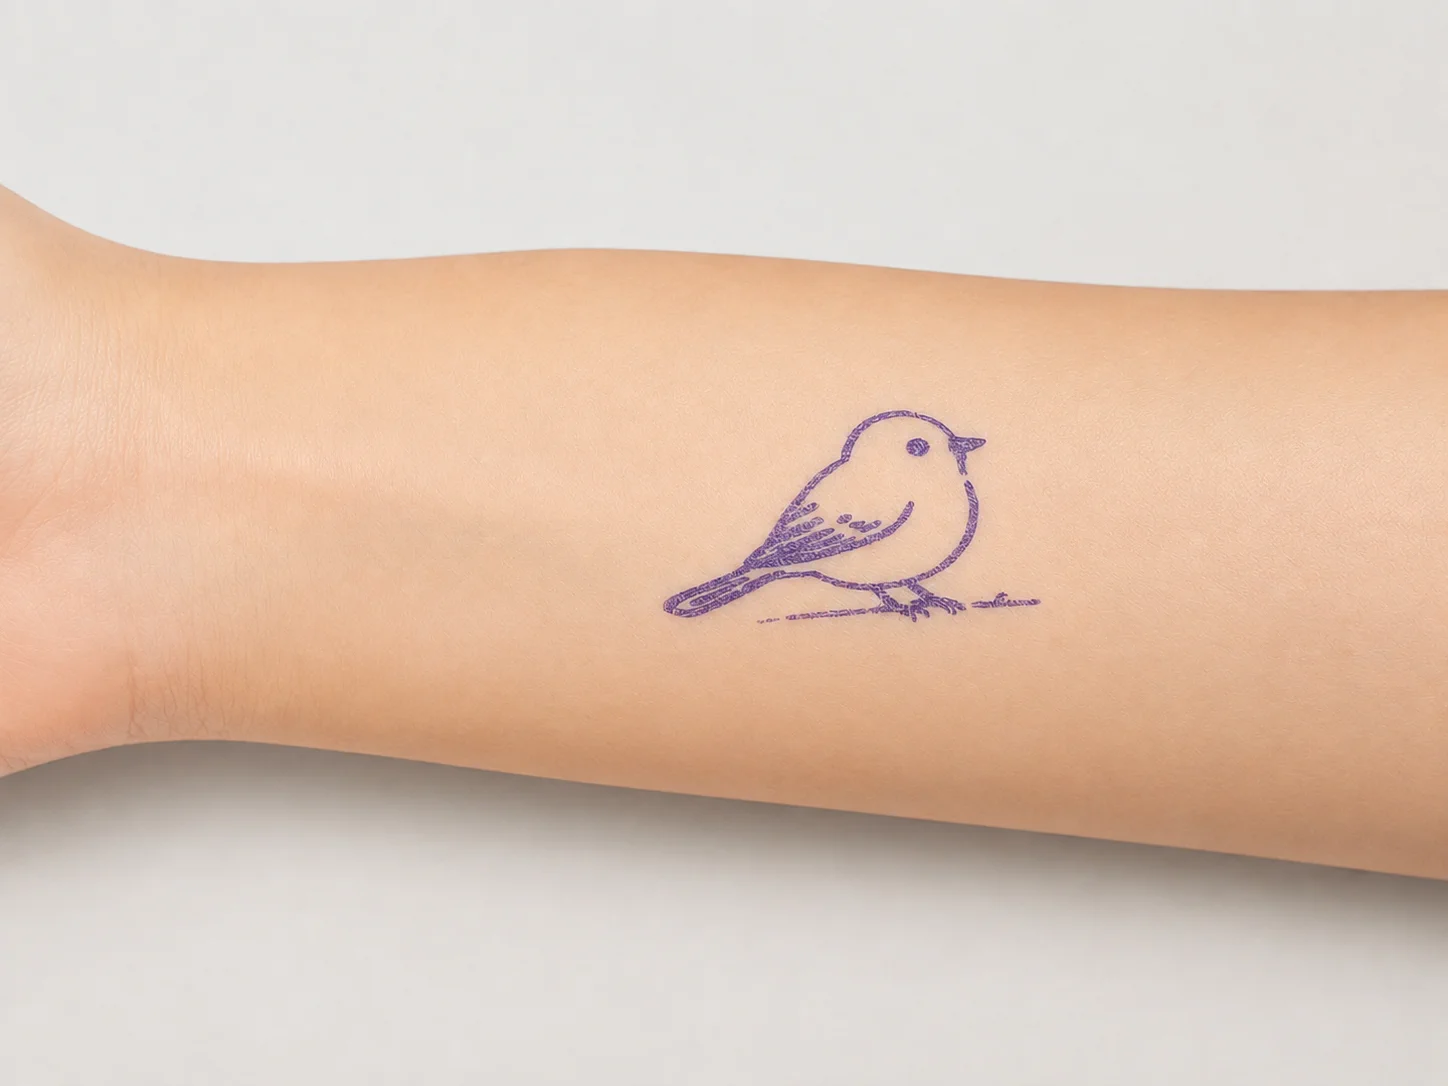
Record the paper and backing-paper version actually used. Ask for the operating instructions relevant to that material, its package identity, storage and handling guidance if available, and the proposed replenishment path. The K1 page shows a dedicated two-layer transfer-paper structure and a transfer result, but it does not publish universal loading settings, transfer time, removal method, or wear duration.
The U.S. Food and Drug Administration notes that temporary-tattoo products can be associated with adverse reactions and distinguishes temporary products from permanent tattooing. That is why the sample record should request material-specific documentation and avoid generic safety language. Read the FDA temporary-tattoo fact sheet and the FDA category overview for context; neither source validates a particular K1 material or event setup.
Stage 5: close deviations before sign-off
Use a deviation log with five fields: the observation, the affected sample or document version, the risk to the planned offer, the owner, and the retest condition. Avoid grouping all issues into “minor” and “major” unless the project has defined those categories. A visible open item is more valuable than an optimistic approval note.
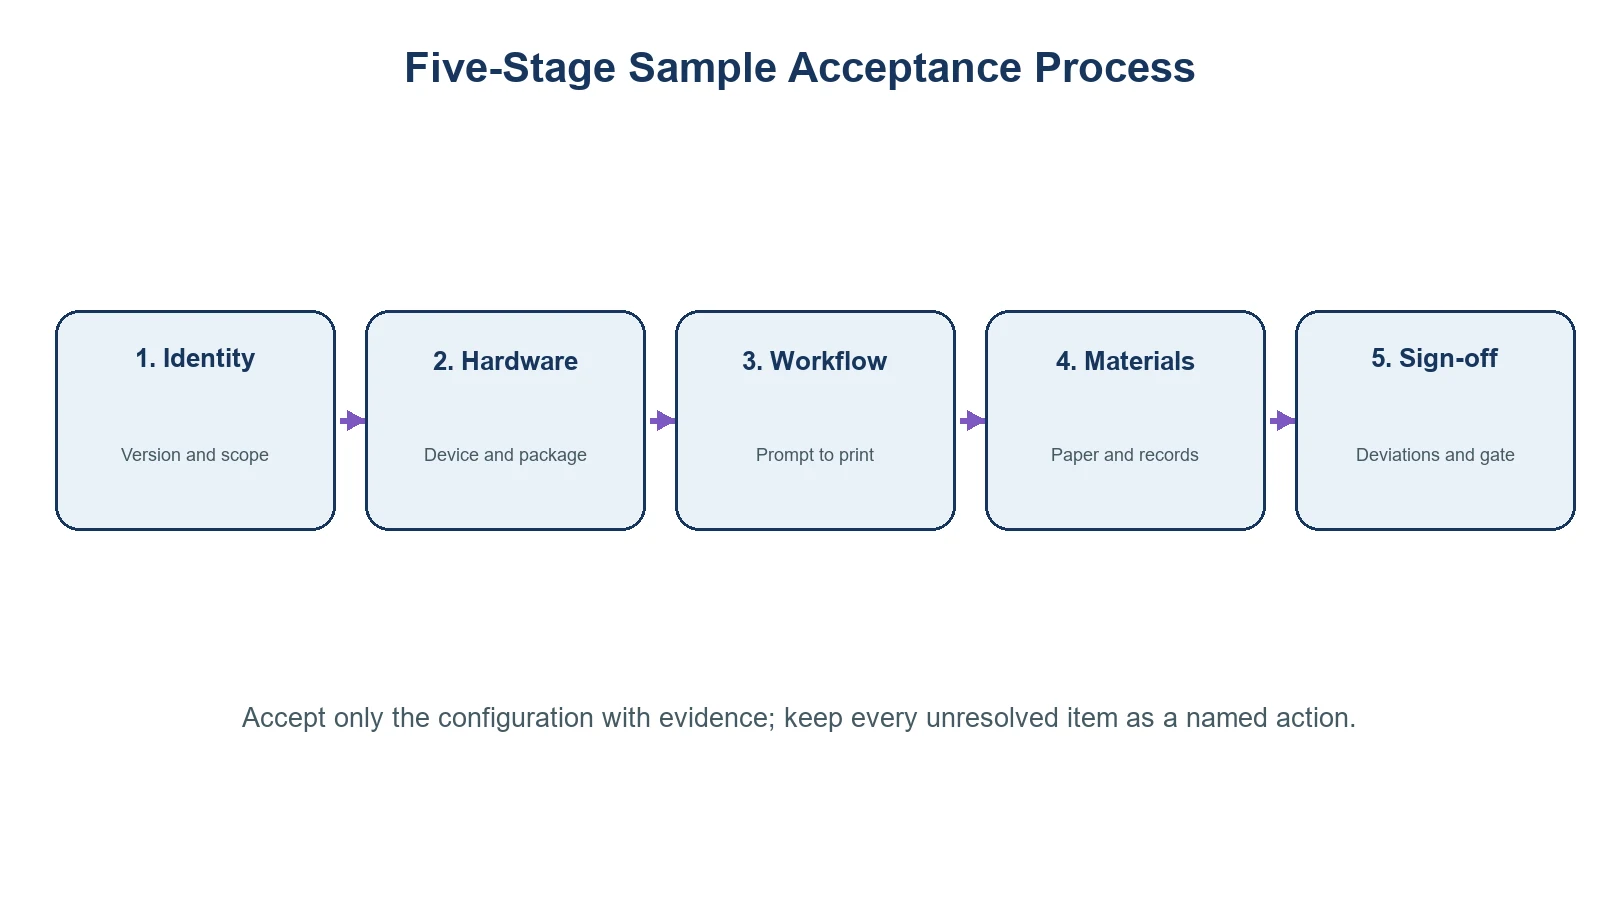
Approve only the configuration that has evidence. Keep every other item as a named action with a retest or document-review condition.
Before production or a market pilot, review the following launch gate:
- [ ] The approved sample identity and configuration are recorded.
- [ ] The tested connected workflow is documented, including exclusions.
- [ ] Paper and transfer-material versions are named and linked to their available instructions.
- [ ] Branding, packaging, manual, and accessory revisions are marked approved, pending, or rejected.
- [ ] Claims have evidence or are removed from the launch copy.
- [ ] All deviations have an owner, due condition, and retest path.
- [ ] Commercial items such as MOQ, lead time, price, warranty, spare parts, and after-sales coverage are confirmed separately in the project agreement.
Use a documented supplier-question format before submitting a sample request.
FAQ
What is the first document needed for sample acceptance?
Start with a sample identity and configuration sheet. It should name the device, materials, included accessories, workflow version, packaging revision, and the exact test scope before the team begins evaluation.
Does a good-looking sample pass acceptance?
No. Appearance is only one area. The team should separately review hardware operation, the agreed connected workflow, paper and transfer-material scope, documentation, and unresolved commercial or support terms.
How should the K1 AI workflow be tested?
Test the currently agreed text-prompt-to-line-art-to-print flow under documented conditions. Do not assume image upload or other functions unless they are confirmed for the project version.
Can a sample test prove that a transfer is safe or lasts for a certain time?
No. A sample test can record what was done with the selected material and instructions. Safety, suitability, duration, and regulatory claims need separate appropriate evidence and review.
What should happen if a check cannot be completed?
Log it as pending with a named owner and retest condition. Do not convert missing evidence into an approval simply to keep a pilot schedule moving.
Turn sample review into a traceable decision
The right outcome is not a polished-looking checklist. It is a record that tells the team exactly what the K1 sample supports, what needs revision, and what remains outside the tested scope. Request a serialized evaluation sample and discuss the acceptance record with Yosiya.